What is a Conveyor Belt?
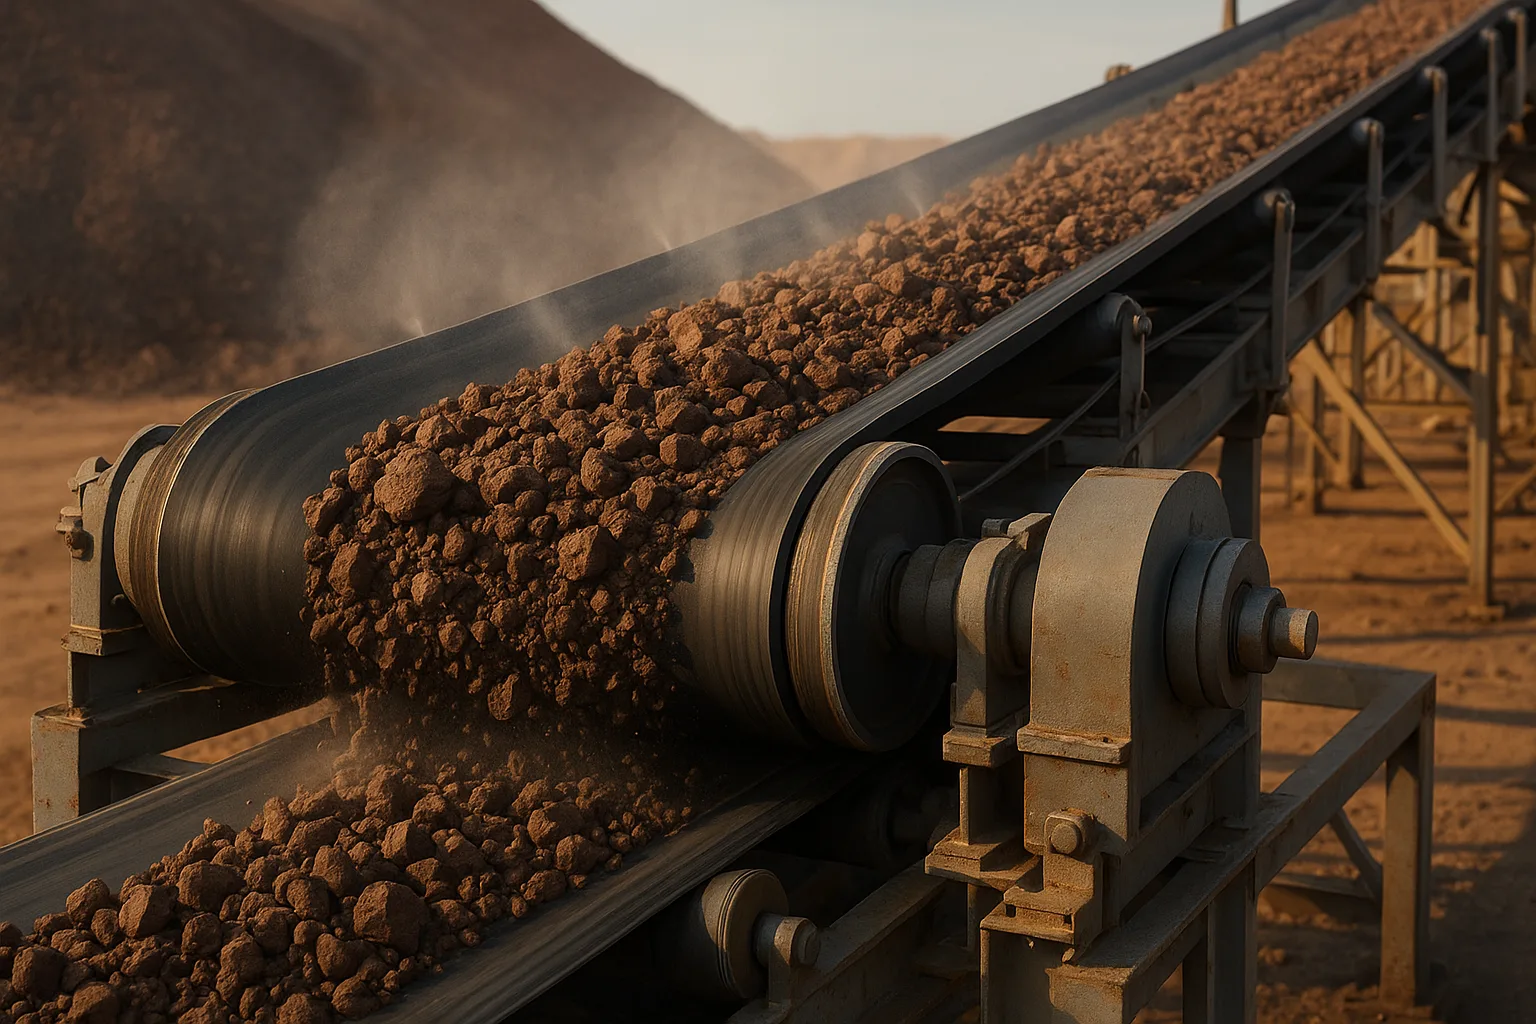
A conveyor belt is the flexible, continuous loop that carries material on a belt conveyor by friction with rotating pulleys. It’s the moving medium—not the whole conveyor system. In practice, the belt’s carcass supplies strength and stiffness, rubber covers protect against wear and environment, and a properly executed splice joins the ends into an endless loop. When specified and maintained well, a belt delivers stable throughput and predictable uptime across mining, cement, ports, steel, power, and other heavy industries.
Key takeaways
-
A conveyor belt is the belt itself—the carrying member—not the entire conveyor system.
-
Construction matters: carcass for tensile strength and control of elongation; covers for abrasion, heat, flame, and oil resistance; splices for continuity.
-
Selection starts with required tension class and geometry (pulley diameters, transitions), then environment (abrasion, heat, fire, oil/chemicals) and standards.
-
Common issues (mistracking, slippage, splice failures) usually trace to loading, alignment, cleaning, or tension. Start diagnostics on the return run.
-
Follow recognized guidance such as CEMA and ISO for terminology, safety, and performance testing.
What is a Conveyor Belt? The core concept
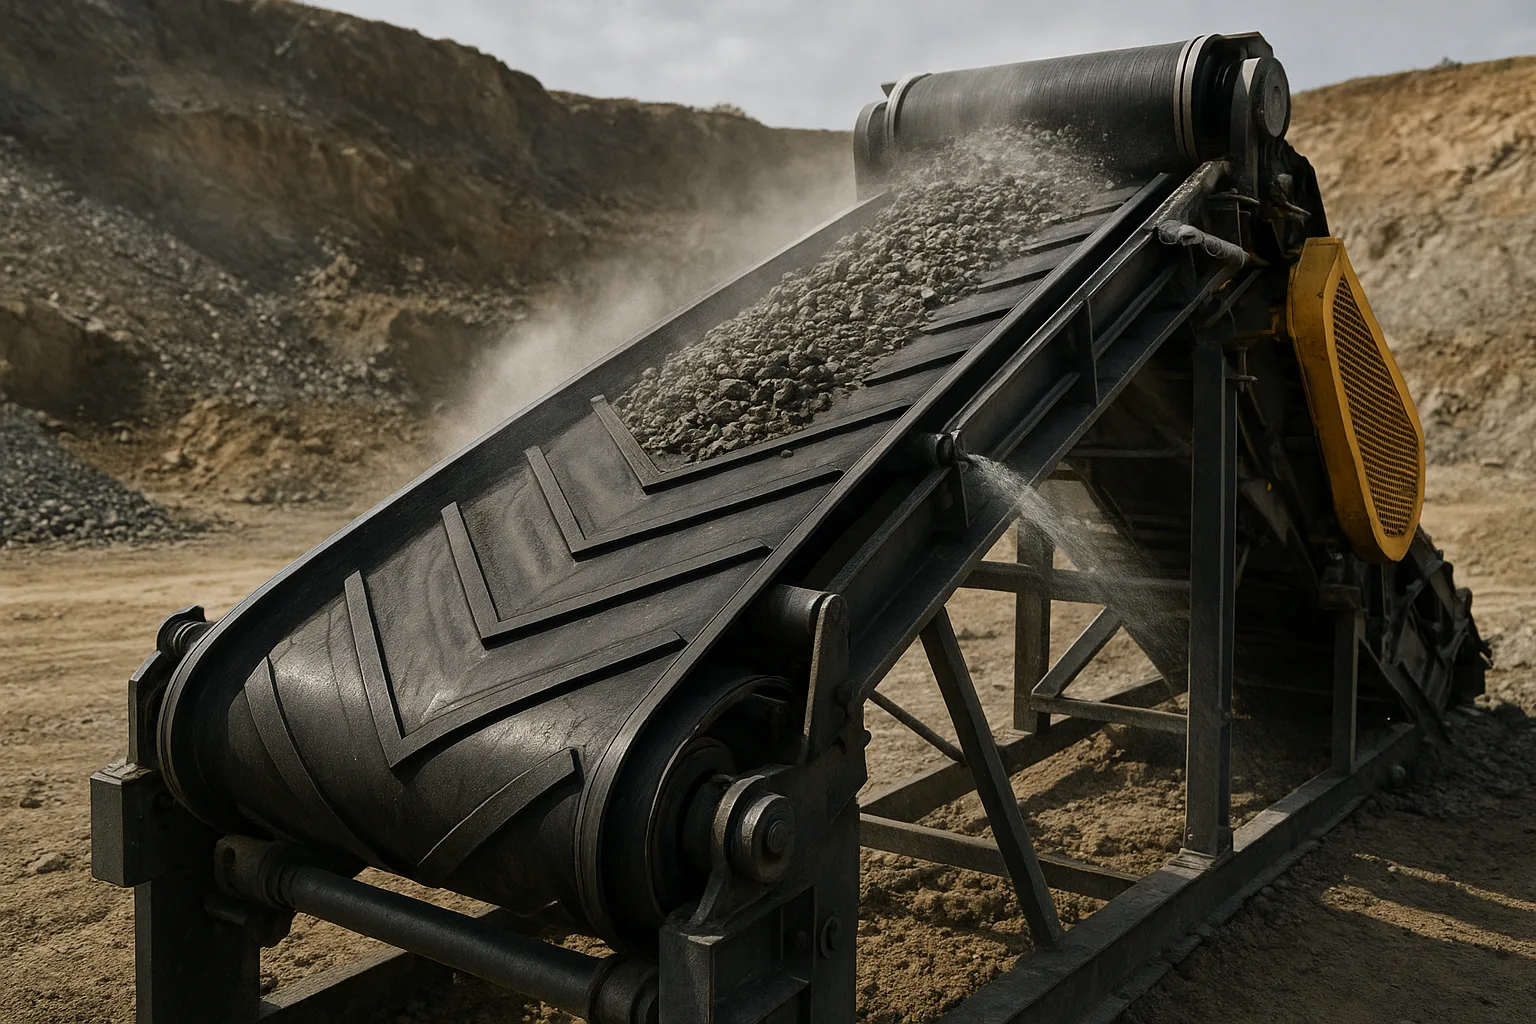
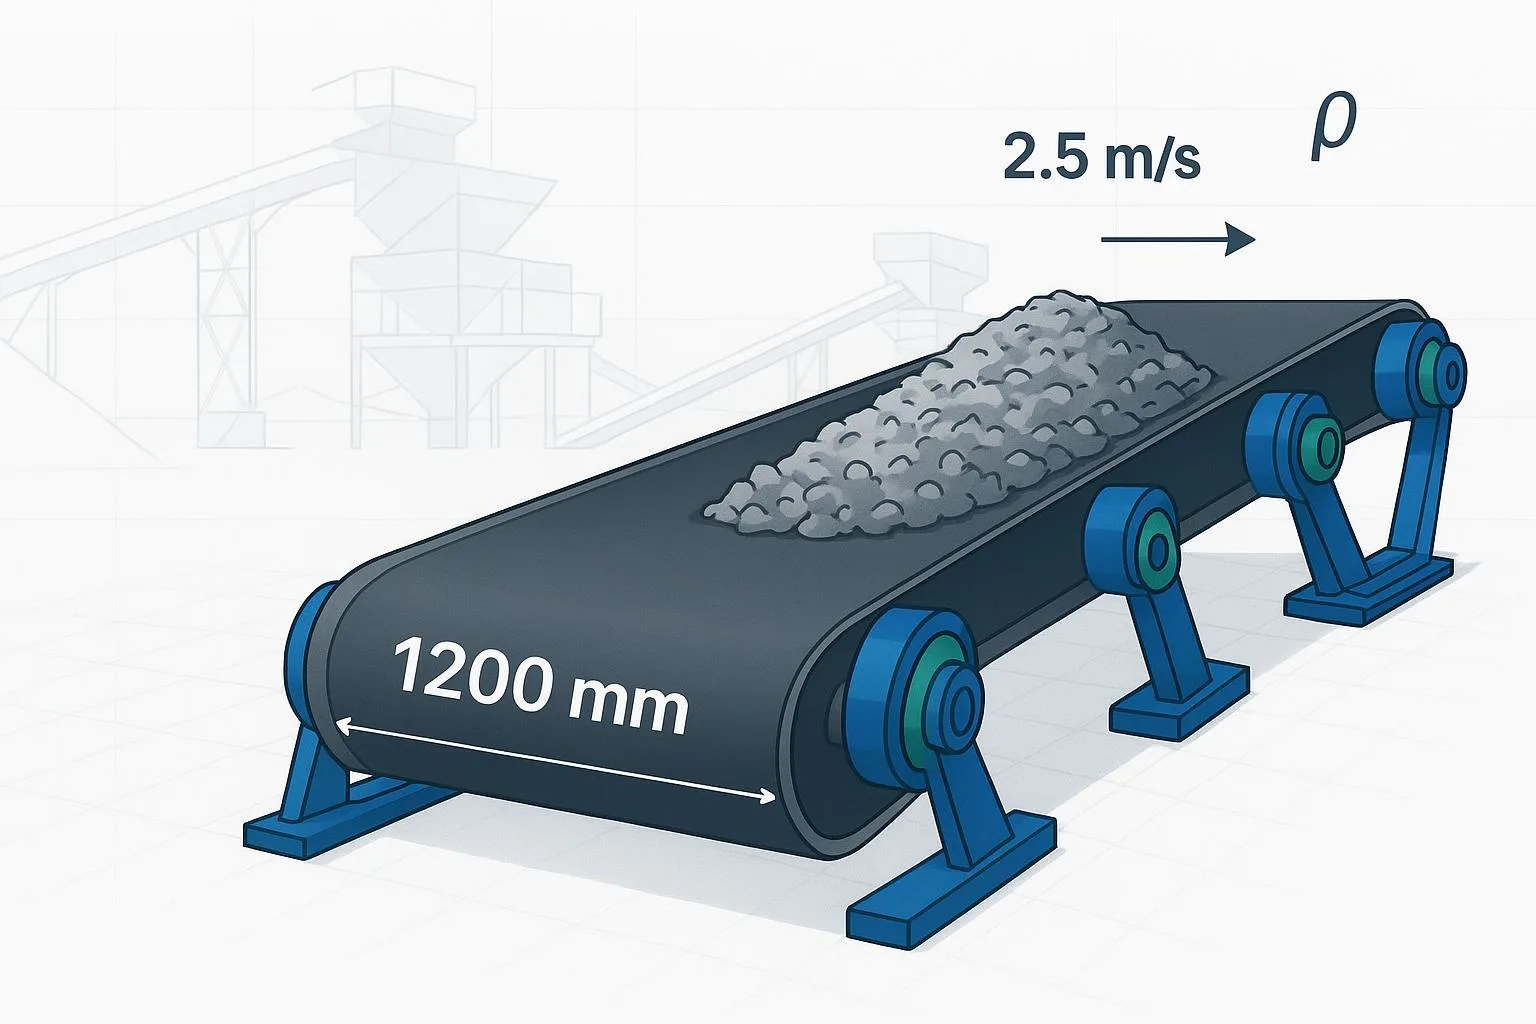
A conveyor belt is the flexible carrying member of a belt conveyor. Power from the drive pulley is transmitted to the belt through surface friction; adequate wrap and tension are essential for traction. According to the long‑standing industry reference, the CEMA Belt Conveyors for Bulk Materials (“Belt Book”), belt-to-pulley friction and wrap angle govern power transmission and slip risk; more wrap and sufficient tension reduce slippage. See the product listing for the current edition at the CEMA Store in the publication Belt Conveyors for Bulk Materials (CEMA).
How a belt moves material
-
The drive pulley turns; friction at the belt–pulley interface pulls the belt forward.
-
Idlers support the belt in a trough, balancing stiffness and flexibility so bulk material rides stably.
-
The take‑up (gravity or screw) maintains tension as the belt elongates under load and temperature.
-
Cleaners and chute design manage carryback and loading to prevent buildup and tracking issues.
Conveyor belt components in simple terms
Think of the belt like a body: the carcass is the skeleton, the covers are the skin, and the splice is the scar that must be healed correctly.
-
Carcass: Textile plies (EP/NN) or steel cords provide tensile strength and control elastic stretch; troughability depends on carcass stiffness.
-
Skims: Rubber between plies or around cords distributes stress and aids adhesion.
-
Covers: Top and bottom rubber layers protect against wear, temperature, fire, and chemicals.
-
Splice: Joins belt ends into an endless loop; its integrity often sets the practical strength of the belt in service.
Major belt types and where they fit
Two mainstream carcass families dominate heavy industry: EP (polyester–nylon) textile multi‑ply and steel‑cord. Each has distinct mechanics and best‑fit applications.
Cited engineering overviews: Continental’s steel‑cord range describes very high tensile classes with low elongation, suitable for long overland service, while foundations texts discuss transition distances and troughing behavior. See Continental’s steel cord belts overview and the CEMA Belt Book reference above.
Cover grades and environments
Cover compounds should be selected for the duty—abrasion, heat, flame resistance, and oil/chemicals. ISO 14890 defines the designation framework for textile belts (construction, tensile class, adhesion, and references to related test methods), while DIN and ISO schemes provide abrasion class shorthand used across the industry.
Standards anchors: Textile belts designation per ISO 14890; flammability test per ISO 340:2022; categorization for above‑ground belts per EN 12882.
Splicing methods and QA
Splices often determine real‑world reliability. Choose the method to match carcass type, duty, and maintenance constraints.
-
Mechanical fastening: Hinged/plate fasteners enable quick installation and repairs; suited to short belts and moderate tensions. Watch for pulley wear and cleaners compatibility.
-
Cold vulcanization: Adhesive bonding without heat; convenient but strength and heat resistance are limited versus hot vulcanization.
-
Hot vulcanization: Heat, pressure, and time cure the rubber for a strong, durable splice. For multi‑ply belts, finger or finger‑over‑finger patterns maximize strength retention; for steel‑cord, dedicated cord splice kits and procedures are required.
Quality checkpoints (field‑proven):
-
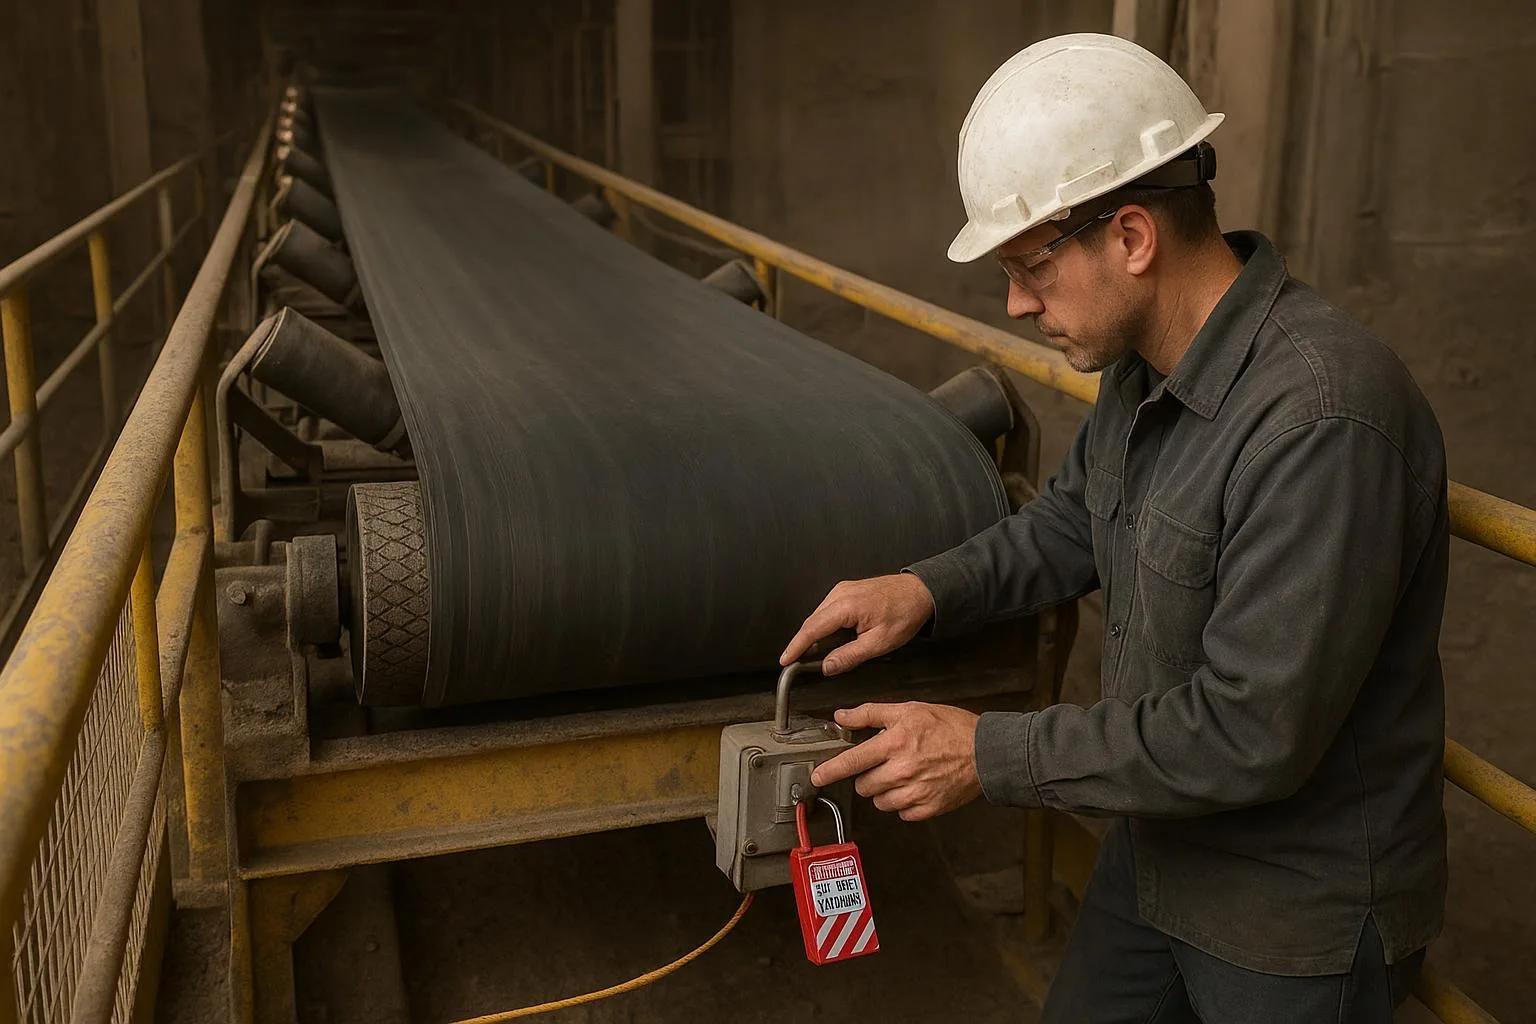
Pre‑splice: Lockout/tagout; square the belt ends; verify belt thickness and compound; stage tools and kits compatible with the belt.
-
Process: Control temperature, pressure, and cure time; maintain clean layup; ensure alignment to prevent tracking bias.
-
Post‑splice: Visual inspection for voids and steps; confirm tension class/splice rating; re‑inspect after break‑in.
For a practical overview of techniques and considerations, Flexco’s guide summarizes options and QA reminders in About Conveyor Belt Splicing Techniques.
Selection and implementation guidelines
Before issuing an RFQ or installing a replacement, align your specification with operating demands and standards language. Here’s a concise checklist.
-
Duty and tension class
- Define required belt strength (N/mm or ST rating) from system calculations; match carcass family (EP vs steel cord) to tension and take‑up travel.
-
Geometry
- Confirm minimum pulley diameters and transition distances appropriate for the carcass; steel‑cord belts typically need larger pulleys.
-
Environment and covers
- Choose abrasion class and special compounds (heat, flame, oil) suited to material and temperature.
-
Splicing plan
- Specify splice method and QA (e.g., hot‑vulcanized finger splice for high‑temp textile belts; OEM‑approved steel‑cord splice).
-
Standards and designation
- For textile belts, cite ISO 14890 designation elements (belt type, tensile class, cover thicknesses, cover classification, safety category).
-
Commissioning and safety
- Plan tracking and cleanup. Verify labeling and guards per recognized guidance such as CEMA’s Safety Label Brochure No. 201.
Looking for deeper context on carcass choice? See our internal comparison on EP vs Steel Cord Conveyor Belts and a broader mining conveyor belt selection guide.
Common problems and troubleshooting
First diagnose in low‑tension zones and on the return run; make small adjustments and measure effects. Here’s a practical first‑response list we use in the field.
-
Mistracking
-
Inspect loading: ensure centered, non‑biased feed; correct skewing at the chute.
-
Clean return and loading zones; remove buildup at idlers and pulleys.
-
Verify belt splice squareness; check frame and pulley alignment.
-
Adjust idlers in small increments (~3 mm), starting after the drive on the return side.
-
-
Slippage at the drive
-
Check lagging wear and cleaner interference; confirm wrap angle and tension.
-
Manage moisture/carryback; increase wrap or improve lagging where warranted.
-
-
Splice issues
- Look for steps, voids, or heat damage; confirm cure parameters and alignment; re‑tension after break‑in.
For a step‑by‑step mistracking playbook, see the internal guide How to Fix Conveyor Belt Misalignment.
Maintenance best practices and safety
A predictable cadence reduces unplanned downtime and safety risk.
-
Daily/shiftly: Walk the conveyor; listen for noisy idlers; look for carryback and off‑center loading; verify take‑up travel.
-
Weekly: Cleaners and skirt seals; check lagging condition; confirm idler rotation and alignment.
-
Monthly: Inspect splices; measure cover thickness at fixed points; review tracking trend logs.
-
Annually: Alignment survey of pulleys/structure; audit guards, labels, and emergency stops; refresh splicing tools and kits.
Safety note: Use lockout/tagout, verify guards and emergency stops, and maintain standardized safety labels consistent with CEMA guidance.
Standards and references to consult
-
CEMA Belt Conveyors for Bulk Materials (“Belt Book”) — comprehensive engineering guidance on design, power, and operation. See the current edition product page: CEMA Belt Conveyors for Bulk Materials.
-
Textile belts specification and designation: ISO 14890.
-
Flammability test method: ISO 340:2022; categorization for surface use belts in the EU: EN 12882.
-
Steel‑cord applications overview: Continental steel cord belts.
-
Splicing techniques primer: Flexco splicing techniques guide.
Actionable takeaways
-
Start with the system duty and geometry; pick the carcass (EP vs steel cord) that meets tension and take‑up limits.
-
Choose covers for the environment (abrasion/heat/flame/oil); use ISO 14890 and related tests to structure the specification.
-
Plan the splice method and QA as part of the belt spec—not as an afterthought.
-
Commission carefully: load centrally, clean early, track on the return side first, and document take‑up position.
-
Maintain to a cadence and re‑verify safety labels, guards, and emergency stops annually.
Need a second set of eyes on a spec or an upgrade path? As a neutral note, BisonConvey supports engineered selection and supply of belts, idlers, and pulleys for heavy‑duty conveyors; get in touch for application‑specific options.