Comprehensive guide on industrial conveyor belt repair and maintenance techniques
If you run bulk handling equipment, belt reliability is your production heartbeat. This comprehensive guide on industrial conveyor belt repair and maintenance techniques gives you field-proven methods, decision tools, and standards-aware procedures to reduce downtime and extend belt life—without compromising safety.
Safety note and disclaimer: Always follow your site’s written procedures and consult certified professionals. References here point to authoritative standards; you are responsible for applying them to your specific installation.
Key takeaways
-
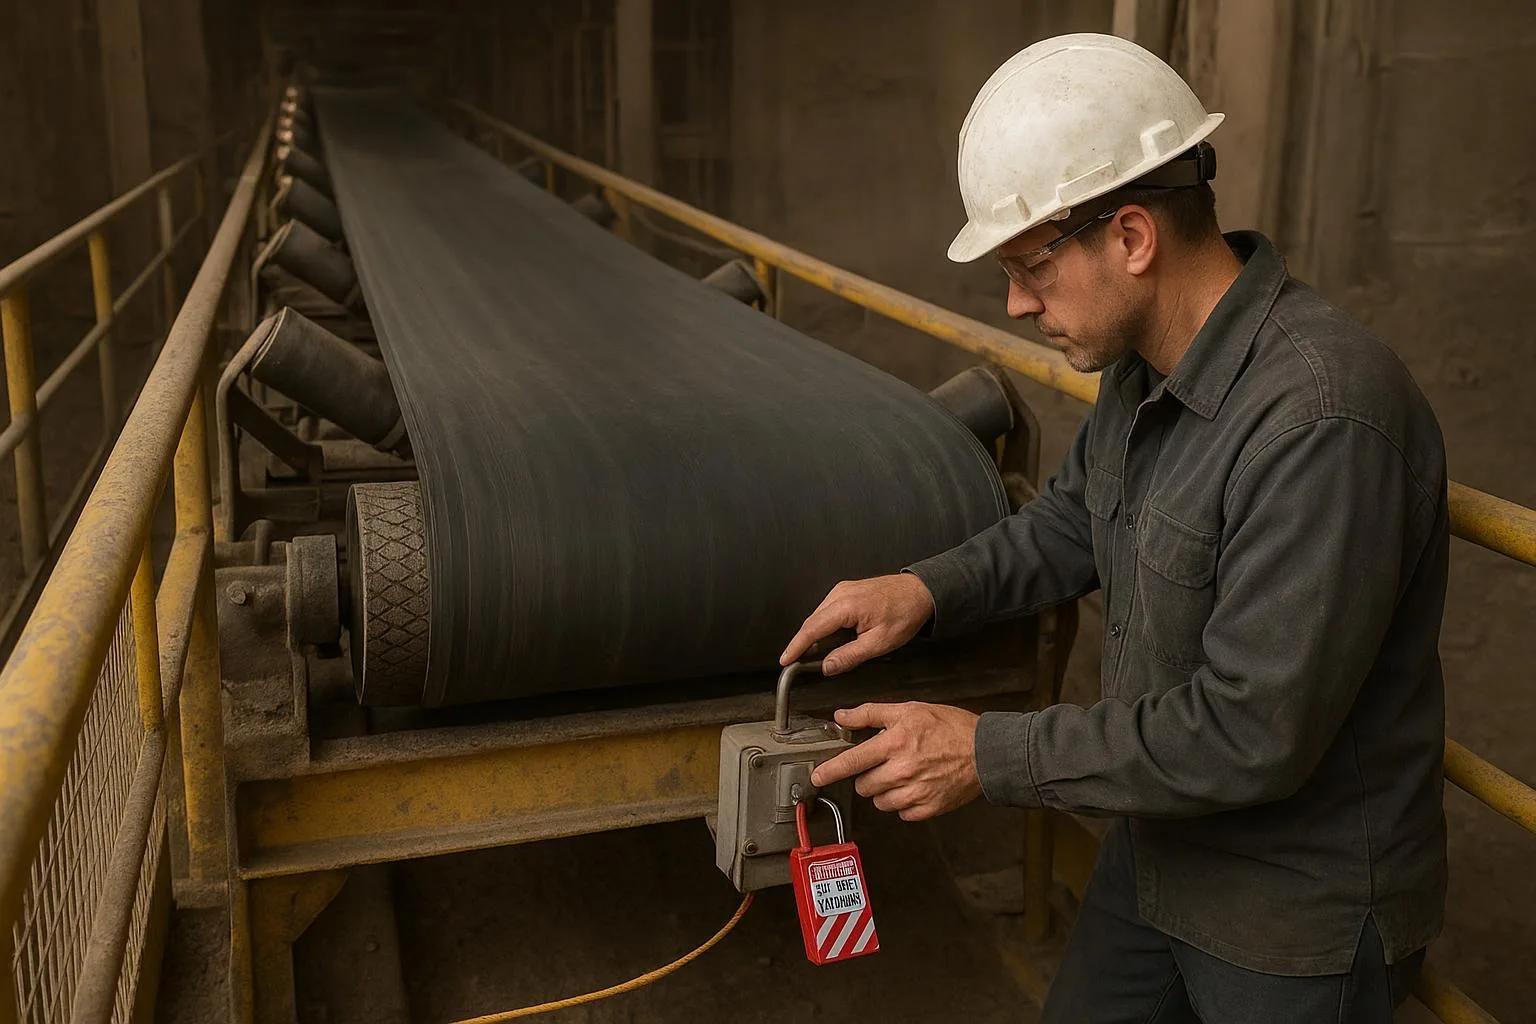
Always gate repair work behind lockout/tagout and guarding verification per OSHA; never “test by trial” on energized systems.
-
Choose repair methods based on belt type, tension class, damage extent, environment, skill/tools on site, and available shutdown window—not habit.
-
Tracking, correct tension, healthy idlers, appropriate lagging, and well-set cleaners do more to prevent repairs than any single patch.
-
Combine periodic inspections with condition monitoring (magnetic/X‑ray for steel cords, optical 3D, and rip detection) to catch issues early.
-
Standardize a preventive maintenance cadence and validate every repair with an empty→loaded run and documented checks.
Comprehensive guide on industrial conveyor belt repair and maintenance techniques: selection framework
This section distills how to assess belt damage and select the appropriate repair path, aligned to belt type and operating context.
Damage taxonomy and belt types
-
Textile carcass (EP/NN): Layers of fabric embedded in rubber. Common issues: cover gouges, ply separations, torn edges, worn covers, mis‑splices.
-
Steel‑cord: Longitudinal steel cables in rubber. Common issues: cord corrosion/breaks, splice defects, punctures, cover wear; internal damage isn’t visible without imaging.
Quick thresholds (rules of thumb):
-
Surface cuts/gouges confined to the cover: patch or cold‑cure compound.
-
Longitudinal rips or injuries affecting multiple plies/cords: consider hot vulcanization or belt replacement based on extent; if damage exceeds ~25% of belt width or compromises structural integrity, replacement is often more economical (industry rule of thumb commonly cited by technical bulletins and trade sources).
Hot vs cold vulcanization vs mechanical fasteners vs patching
-
Hot vulcanization: Heat and pressure cure a skived joint or patch, restoring near‑original integrity. Best durability; longest downtime and highest skill/tooling.
-
Cold vulcanization: Chemical bonding at ambient temperature. Faster setup, less equipment; lower ultimate strength and more sensitive to conditions.
-
Mechanical fasteners: Plate or hinged fasteners join ends quickly. Fastest restart; lower life, potential cleaner interference, higher noise.
-
Surface patching/compounds: Rapid surface restoration for cuts and punctures; not structural for end‑joining.
Decision table — choosing a repair method
Authoritative overviews compare splicing approaches with practical notes; for further reading, see the engineering explainer on methods and selection from a technical distributor: Conveyor belt splicing methods overview.
Safety and standards you must meet
Before any hands-on step, implement control of hazardous energy and machine guarding:
-
Lockout/Tagout (LOTO): Follow OSHA’s control of hazardous energy requirements; see the standard’s typical sequence and verification steps in Appendix A and interpretation on temporary re‑energization for testing under defined protections. Authoritative references: the OSHA LOTO overview in the Control of Hazardous Energy hub and the Typical Minimal Lockout Procedures in Appendix A: OSHA’s LOTO overview and OSHA 1910.147 Appendix A. For policy nuance on testing, see the 2024 interpretation letter: OSHA interpretation on temporary re‑energization.
-
Guarding: Machines must be guarded at points of operation and nip points; see OSHA 1910.212 machine guarding.
-
Industry-specific conveyor provisions reinforce stopping and locking/tagging during maintenance: OSHA 1926.555 Conveyors, OSHA 1917.48 Marine Terminals, and OSHA 1918.64 Longshoring.
-
Industry practices and installation tolerances are detailed in the Conveyor Equipment Manufacturers Association’s references such as Appendix D for installation/alignment. See CEMA Conveyor Installation Standards (Appendix D, 7th Ed.).
-
ISO standards define test methods and design parameters for belts. Useful references include ISO 283 (textile belt tensile/elongation) and the ISO 15236 series for steel‑cord belts to understand splice and cord performance expectations.
Step‑by‑step repair SOPs
All procedures assume LOTO is applied, guards removed only as necessary, and hot‑work permitting is observed where applicable.
Hot vulcanization (splice or structural patch)
Required tools: vulcanizing press of appropriate size/pressure, skiving equipment, buffing tools, solvents/adhesives, thermocouples, pressure/vacuum gauges, alignment squares, clamps.
Steps:
-
Prepare and square ends: mark true centerline; cut ends square; skive to specified geometry and bias per belt class.
-
Surface prep: buff to a velvet texture; vacuum dust; solvent‑clean; avoid moisture/contamination.
-
Build the layup: apply specified tie gum/covers; position plies/cords; install release cloths and caul plates; insert thermocouples.
-
Press cure: apply pressure/heat per compound spec; monitor temperature uniformity and time; maintain pressure through cooling.
-
Finish: trim flash; inspect visually; hammer test for adhesion; measure splice length and thickness; document.
-
Validation run: see “Validation run and documentation.”
Cold vulcanization (chemical splicing/patching)
Required tools: skiving/abrasion tools, adhesive system (primer, cement, hardener), rollers, clamps, alignment squares, environmental controls (humidity/temperature).
Steps:
-
Square and skive per kit instructions; roughen and clean surfaces thoroughly.
-
Apply primer and cement per cure window; observe mix ratios and open times.
-
Bond under pressure using rollers/clamps; avoid trapped air; protect from dust and moisture.
-
Allow full cure per datasheet; temperature/humidity control is critical.
-
Inspect adhesion; dress edges; document cure conditions.
-
Perform validation run.
Mechanical fasteners (plate/hinged)
Required tools: cutting/squaring tools, fastener installation tool/jig, clamps, pull‑through wire or bolt set, nippers, optional cover skiver to reduce step height.
Steps:
-
Square belt ends; remove minimal cover to reduce fastener step.
-
Install fasteners along the centerline; verify pitch and bite depth; crimp/bolt per spec.
-
Install a suitable pin/hinge; check for interference at pulleys, cleaners, and skirts.
-
Dress leading/trailing edges; tension belt and cycle slowly under observation.
-
Document installation; plan hot splice during next major shutdown if required.
Surface patching and cold‑curing compounds
Required tools: grinder/buffer, patch kit, solvents, rollers, heating pads if specified.
Steps:
-
Taper the damaged area; remove loose rubber; avoid cutting into healthy plies/cords.
-
Clean and apply the compound/patch; roll out air; follow cure schedule.
-
Dress surface flush to minimize cleaner interference; document zone for monitoring.
Inspection and diagnostics
Conveyor belt tracking and tensioning checks
Belt tracking responds to the geometry it “sees.” Start with structure: square head and tail, align snubs and bend pulleys, ensure idlers are parallel, and remove carryback on the return run. Keep loading centered and even. For a deeper theoretical background with diagrams and field fixes, see the extended guide: conveyor belt tracking theory.
Practical notes:
-
Place trainers before the tail pulley, after the head, and near mid‑runs; avoid transitions/high‑tension zones. Typical spacing ranges 50–70 ft depending on belt width and severity (industry practice summarized by inspection leaders like Martin Engineering and Kinder).
-
Verify tension during startup and at full load; avoid over‑tensioning that drives bearing wear and cupping. Post‑repair, recheck take‑up travel symmetry.
Condition monitoring: magnetic/X‑ray, optical 3D, inductive loops
-
Magnetic flux imaging (steel‑cord): magnetizes cords to detect breaks/corrosion; excellent for splice integrity and remaining strength; typically periodic (e.g., annually to biennially).
-
X‑ray scanning: return‑side imaging for internal maps of cords and injuries; complements magnetic imaging; not real‑time rip detection.
-
Optical 3D scanning: real‑time surface wear/damage mapping for textile and steel‑cord belts.
-
Inductive loop rip detection: embedded loops that trigger when continuity is broken; valuable at high‑risk transfer points.
For a vendor‑neutral comparison of belt condition monitoring options and trade‑offs, see this overview: Conveyor belt condition monitoring systems compared.
Maintenance pillars and belt cleaner placement
Healthy components reduce repair frequency and severity.
Idlers, pulleys, and lagging
-
Replace seized/noisy idlers promptly; use sealed‑for‑life bearings where appropriate; ensure frames are square and at correct trough angle.
-
Inspect drive pulley lagging for wear and contamination; re‑lag when traction is insufficient; confirm wrap angle and loading don’t cause slippage.
-
For idler fundamentals and troubleshooting patterns, review this primer: belt conveyor idlers overview.
Skirting and transfer point control
-
Maintain skirting clearances to contain dust and spillage without excessive drag; inspect wear liners and impact beds.
-
If spillage or carryback recurs, revisit transfer geometry and loading; see extended design/maintenance guidance: conveyor belt skirting guide.
Belt cleaner placement best practices
-
Primary cleaner: mounted on the head pulley face, just below the material trajectory, with a positive rake angle; correct blade pressure and uniform contact are essential.
-
Secondary cleaner: positioned a few inches past the belt departure point; often tungsten‑carbide blades with a negative rake; check blade wear and tension regularly.
For fundamentals and placement schematics, see an engineering knowledge base article: Basics of effective belt cleaning systems.
Troubleshooting: from symptom to fix
Preventive maintenance cadence and checklist
Tie inspections to operating hours and environment; the following is a proven baseline. After any repair, also perform commissioning checks—alignment and empty→loaded validation. For commissioning essentials, see: conveyor belt installation and commissioning guide.
To make this actionable, create a “conveyor maintenance checklist” in your CMMS and assign recurring work orders. Attach photos and measurement logs after each task.
Field scenarios: how the decision plays out
-
Quarry load zone mistracking: Recurrent wander occurred 10–15 m after loading. Inspection found off‑center loading and seized return idlers. Fix: replace seized idlers, re‑center chute, add a trainer before the tail and after the head, clean the return run, and reset skirting. Result: belt stayed centered under full load; carryback reduced.
-
Cement plant splice walking under heat: A textile belt hot splice elongated unevenly near a kiln feed conveyor. Verification showed inadequate cure and asymmetric bias. Fix: re‑splice with correct geometry and press profile; validate at temperature with staged loading. Result: splice remained stable; no further wander.
-
Port conveyor rip risk during ship loading: Long steel‑cord belt under high impact experienced frequent surface cuts. Decision: add inductive loop rip detection at the loading zone and schedule annual magnetic imaging. Result: early detection of a long rip; controlled stop prevented catastrophic damage.
Validation run and documentation
After any repair:
-
Restore guarding and remove tools; verify LOTO sequence for safe re‑energization per site procedure.
-
Empty run for 3–5 belt revolutions while observing tracking, splice passage, and cleaner contact.
-
Loaded run at partial then full rate; verify tracking, slippage, noise, and temperature at bearings/drive.
-
Document: splice dimensions, cure conditions, torque/tension settings, alignment measurements, vibration/temperature snapshots, and photos. Update CMMS with next inspection due.
Next steps
Takeaways to implement immediately:
-
Start every job with LOTO and a written permit when required.
-
Use the decision table to match the repair to the belt and shutdown window.
-
Standardize your preventive maintenance cadence and log KPIs.
-
Add condition monitoring on critical conveyors.
If you need engineered belts, idlers, or pulleys—or want to review a repair and maintenance plan with a specialist—reach out to BisonConvey for neutral, component‑specific recommendations.