1. Separate pulley diameter from belt width and face width
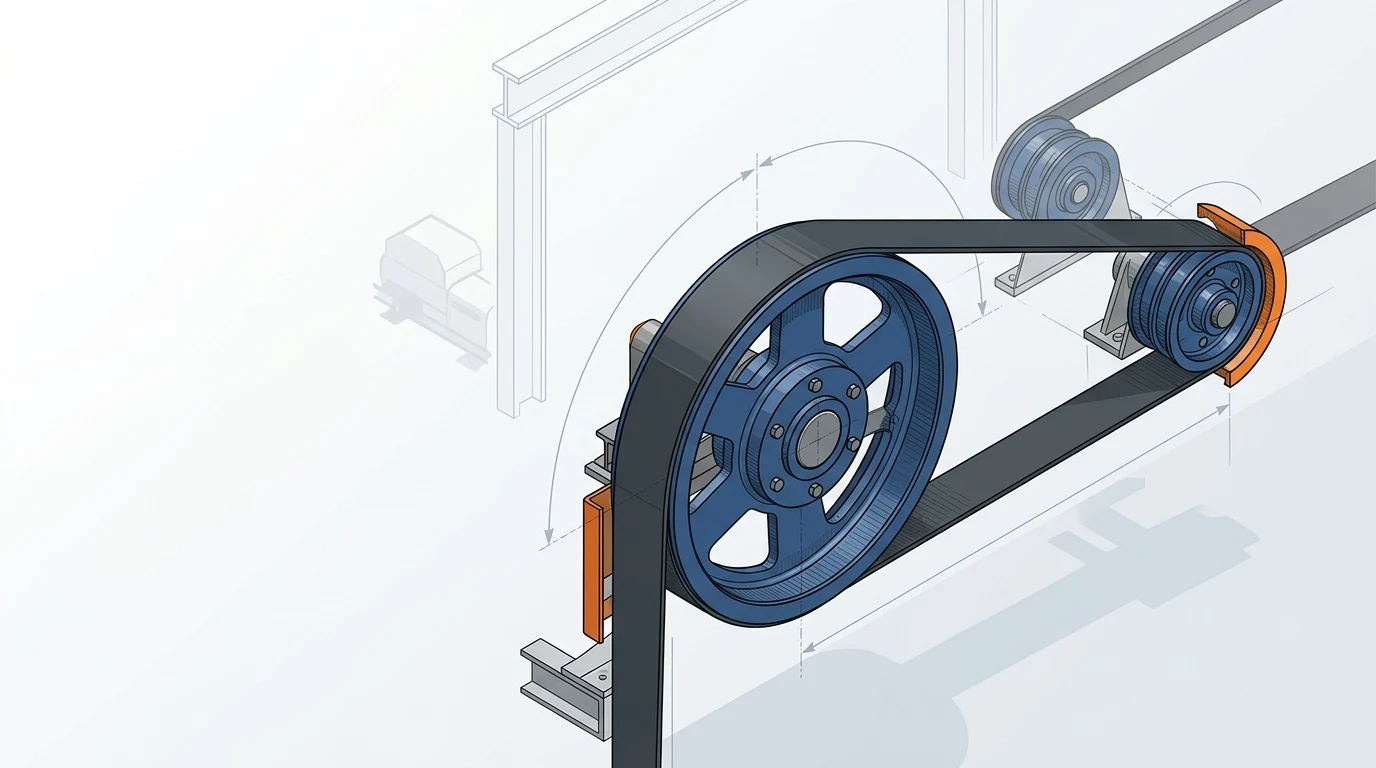
For a conveyor pulley diameter calculation, start with the dimension that protects the belt from excessive bending: the outside diameter of the pulley under the belt. It is not the belt width, and it is not the pulley face width.
That distinction prevents a costly but common specification error. Belt width is mainly a capacity and material-containment decision. Pulley face width must accommodate that belt, tracking allowance, and edge clearance. Minimum pulley diameter is a belt-flexing decision: it is governed by the carcass and the duty at that pulley. A wider belt can use the same minimum diameter as a narrower belt of the same construction and duty; conversely, two belts of the same width may require very different diameters.
| Dimension | What it describes | What primarily governs it | Do not use it to decide |
|---|---|---|---|
| Belt width | Width of the carrying belt | Capacity, lump size, trough geometry | Minimum pulley diameter |
| Pulley face width | Usable drum width beneath the belt | Belt width, tracking allowance, edge clearance | Belt bend limit |
| Pulley diameter | Outside diameter around which the belt bends | Carcass, belt rating, tension utilization, pulley duty | Conveyor capacity alone |
Why be strict about this? A belt bent around an undersized pulley is repeatedly flexed beyond its intended limit. Martin Engineering notes that too-small bend radii can contribute to ply separation, cover cracking, and shortened splice life, and advises using the belt manufacturer's minimum-pulley specification as the reference point. Read its minimum-bend-radius guidance for the failure mechanism.
Expected result: your worksheet has separate columns for belt width, pulley face width, and pulley diameter. Do not begin a diameter check until those columns are separate.
2. Collect the belt data that governs the minimum
You need more than a belt nameplate before selecting a diameter. Gather the current belt data sheet, the conveyor tension calculation, and a line diagram showing every pulley the belt wraps around. The inputs below are what allow a belt supplier or a preliminary calculator to assign the right minimum to each position.
| Input to collect | Why it changes the check | Where to obtain it |
|---|---|---|
| Carcass type | Fabric and steel-cord constructions bend and splice differently. | Belt data sheet or purchase specification |
| Rated belt strength and construction | The rating plus ply/cord construction establishes the starting class. | Belt designation, e.g. EP or ST class |
| Top and bottom cover thickness | Covers add thickness and stiffness; do not quietly substitute a bare-belt assumption. | Belt data sheet |
| Maximum working tension at each pulley | The same belt can have different utilization at a drive, bend, or tail position. | Tension calculation and pulley layout |
| Pulley function and wrap | Drive, bend, snub, tail, and take-up positions may use different factors. | General arrangement drawing |
| Splice, temperature, and duty | Mechanical splice limits, hot material, starts/stops, and severe duty may add constraints. | Conveyor specification and belt supplier |
Treat the construction branch as a hard fork. A fabric conveyor belt construction is normally identified by its textile plies and EP rating; a steel cord conveyor belt needs the cord-belt data and its supplier's splice and bend guidance. Do not borrow a fabric-belt lookup value for an ST belt just because the nominal strength looks similar.
The public scope of ISO 3684:1990, Conveyor belts — Determination of minimum pulley diameters, confirms the point: it addresses belts with textile or metal carcasses, but also states exclusions including particularly thick carcasses and certain high- or low-temperature service. That makes it a method-level reference, not permission to apply one generic chart to every belt.
Use the manufacturer table associated with the exact belt construction whenever it is available. The Conveyors247 chart overview similarly identifies belt construction, covers, tension rating, and operating load as relevant variables. If any of those inputs are unknown, mark the diameter as preliminary, not approved for purchase.
Expected result: you can name the exact belt construction and can map the maximum working tension and duty to every pulley in the layout.
3. Translate the belt data into a preliminary minimum diameter
Use the belt manufacturer's table or calculation method first. Then select an actual diameter that is equal to or larger than the governing result. A concise engineering check is:
Selected pulley diameter ≥ the largest applicable belt minimum and pulley mechanical requirement.
The first part of that statement protects the belt. The second part recognises that a drum which meets the belt-bend limit can still need to grow for shell, shaft, bearing, lagging, deflection, or service-life reasons. Never round a calculated minimum down just because a smaller stock drum is easy to buy.
For a quick preliminary matrix, use the Pulley Diameter Calculator. It separates fabric and steel-cord classes, utilization groups, and pulley functions, so it is more useful than applying one drive-pulley number to the entire conveyor. It is a screening tool: confirm its selection against the belt maker's exact data sheet and the project design basis before releasing a fabrication drawing.
In DIN-oriented projects, record the relevant DIN 22101 design basis beside the calculation. In North American projects, record the CEMA edition or customer specification that applies. These references help reviewers understand the selection method, but they do not replace a belt manufacturer's constraints for a special carcass, cover, splice, or temperature condition.
Use a transparent illustrative schedule
The following example shows the workflow only. The numbers are illustrative; they are not a substitute for a belt manufacturer's table.
Assume a fabric belt's approved data sheet and duty mapping produce these preliminary minimums: 630 mm for the primary drive, 500 mm for a bend pulley, and 400 mm for a low-tension snub. The designer should document the source and then select equal-or-larger available diameters.
| Pulley position | Minimum from the applicable belt data | Chosen nominal diameter | Status to carry forward |
|---|---|---|---|
| Primary drive | 630 mm | 630 mm | Verify shell, shaft, lagging, and T1 load |
| Bend pulley | 500 mm | 500 mm | Verify resultant belt load and bearing selection |
| Snub pulley | 400 mm | 400 mm | Verify wrap arrangement and local tension |
If the actual project needs 600 mm at the drive but the belt minimum is 630 mm, the remedy is not an optimistic rounding rule. Change the belt/pulley selection, layout, or approved belt construction with the responsible supplier and engineer.
Expected result: you have a preliminary minimum and a proposed nominal diameter for each pulley, each labelled with its source and approval status.
4. Assign a minimum to every pulley function
Do not size only the head drive and copy that number blindly. Each pulley causes a belt bend, but its role and local tension can differ. The calculator's function and utilization choices make this distinction explicit; the final calculation should do the same.
| Pulley function | What to check first | Typical selection trap |
|---|---|---|
| Drive pulley | Highest operating tension, traction, lagging, wrap, and dynamic duty | Selecting by motor power or face width while ignoring the belt bend requirement |
| Bend pulley | Direction change, local resultant belt load, and the belt maker's function category | Assuming a non-drive pulley can always be much smaller |
| Snub pulley | Local tension and wrap-angle geometry | Reducing diameter solely because the wrap is short |
| Tail or take-up pulley | Slack-side/return-side condition, tracking, and construction constraints | Treating “lower tension” as “no minimum” |
There is no universal ordering such as “a snub pulley may always be one size below a drive pulley.” The answer depends on the belt's approved function factors, the actual tensions, and any project rule. A drive pulley also deserves a separate mechanical review because lagging, traction, and torque transmission add requirements beyond the bend limit.
For a multi-drive conveyor, repeat the check for every driven pulley. For take-up or gravity-tension layouts, use the real operating cases, not only the steady nominal case. If starts, stops, regeneration, material impact, or temperature excursions are material, put those cases in the validation brief.
Expected result: every pulley in the line drawing has a function, an associated tension case, and a diameter requirement—rather than one copied “standard pulley diameter.”
5. Choose a manufacturable pulley without losing the margin
After you have the belt-based minimum, select the drum package. This is where diameter, face width, shell, shaft, hubs, bearings, lagging, and mounting arrangement meet. The safe order is to keep the belt requirement as a lower boundary and design upward only when the component checks require it.
| Check | Question to answer | Owner of the final check |
|---|---|---|
| Belt bending | Is the selected diameter at least the approved minimum for this belt and duty? | Belt supplier / conveyor engineer |
| Shell and hubs | Can the shell resist the belt load, material environment, and fabrication details? | Pulley manufacturer |
| Shaft and bearings | Do resultant belt loads, deflection, and bearing life meet the project criteria? | Pulley manufacturer / engineer |
| Face width and tracking | Does the face provide the required belt support and tracking allowance? | Conveyor engineer |
| Lagging and surface | Does the drive need traction or wear protection appropriate to the environment? | Conveyor engineer / pulley manufacturer |
Specify the finished outside diameter at the belt contact surface. If a drawing calls out a bare shell diameter while the calculation was based on the finished lagged diameter—or vice versa—the purchase order can be technically ambiguous. State the reference diameter, lagging thickness, and tolerance explicitly.
Also preserve margin during standardisation. Selecting a larger standard diameter can be sensible if it meets spatial, tension, and cost constraints. Selecting a smaller catalogue size because it is readily stocked is not a valid substitution. The belt requirement remains the gate.
Expected result: the chosen nominal diameter has not been rounded below the belt minimum, and the drawing describes exactly which finished diameter the belt sees.
6. Release a validation brief before purchasing
Before requesting a quote or releasing a purchase order, send one compact validation brief to both the belt and pulley suppliers. It prevents each party from assuming the other party checked the most important constraint.
| Include in the RFQ or review pack | Why it matters |
|---|---|
| Conveyor layout with every pulley identified | Makes the function and wrap geometry reviewable |
| Belt type, full designation, width, covers, and construction | Establishes the correct bend-limit data |
| Maximum and transient tensions by pulley | Lets the reviewer check utilization and resultant loads |
| Proposed diameter, face width, lagging, and pulley function | Makes the requested component unambiguous |
| Material, temperature, starts/stops, and environment | Flags exclusions or severe-duty modifiers |
| Applicable standard/design basis and requested approvals | Defines which calculation basis governs the project |
Ask the belt supplier to confirm the minimum diameter by pulley function for the exact belt, and ask the pulley supplier to confirm the mechanical design for the stated loads. The conveyor engineer should reconcile both replies into the final pulley schedule. That handoff is more valuable than a single untraceable “standard diameter” on a quotation.
Use the Pulley Diameter Calculator to prepare a fast preliminary matrix, then send the completed validation brief to BisonConvey for a pulley specification review. You will move faster when the belt construction, duty, tension data, and proposed diameters are present from the first enquiry.
Questions engineers ask before finalizing the diameter
Can I calculate minimum pulley diameter from belt width alone?
No. Belt width helps determine pulley face width and conveyor capacity, while the minimum diameter depends chiefly on belt construction, rating, cover/splice details, local tension, and pulley duty.
Is the drive pulley always the only pulley that matters?
No. Every pulley that bends the belt needs a check. The drive may be the governing case, but bend, snub, tail, and take-up pulleys can have their own approved minimums based on duty and tension.
Can a calculator replace the belt manufacturer's data sheet?
No. A calculator is useful for preliminary screening and for making the required inputs visible. The final selection must use the exact belt supplier data and the project’s mechanical review.
When should I increase the diameter above the belt minimum?
Increase it when shell, shaft, bearing, lagging, deflection, life, available standard sizes, or project duty demand it. The selected diameter may be larger than the belt minimum, but never smaller without an approved change to the belt or design basis.