Repairing Torn Conveyor Belts: The Complete Engineer’s Guide
Unplanned belt tears drain uptime, scatter material, and create safety exposures. If you’re responsible for bulk handling assets, you need a clear, standards-aware playbook for repairing torn conveyor belts—one that balances strength, speed, and risk. This guide lays out the core mechanics of each repair method, how to choose under pressure, and the acceptance checks that keep the line safe and stable.
Key takeaways
-
Hot vulcanization provides the most durable, smoothest repair but requires a press, trained crew, and a multi-hour cure window.
-
Cold vulcanization (chemical bonding) is field-friendly and smooth, yet highly sensitive to surface prep and ambient conditions.
-
Mechanical fasteners restore service fastest and shine in emergencies, though splice efficiency and sealing smoothness are typically lower.
-
Decisions hinge on belt type (fabric vs steel-cord), tear geometry, shutdown time, and environmental constraints—plus compliance with LOTO and guarding.
-
Return-to-service isn’t a guess: verify tracking, adhesion or fastener torque/rows, cleaner contact, and re-install guards per OSHA/ISO before handover.
Core Concepts Behind Repairing Torn Conveyor Belts
Industrial belts differ in carcass construction and cover chemistry, and those differences matter when you plan a repair.
-
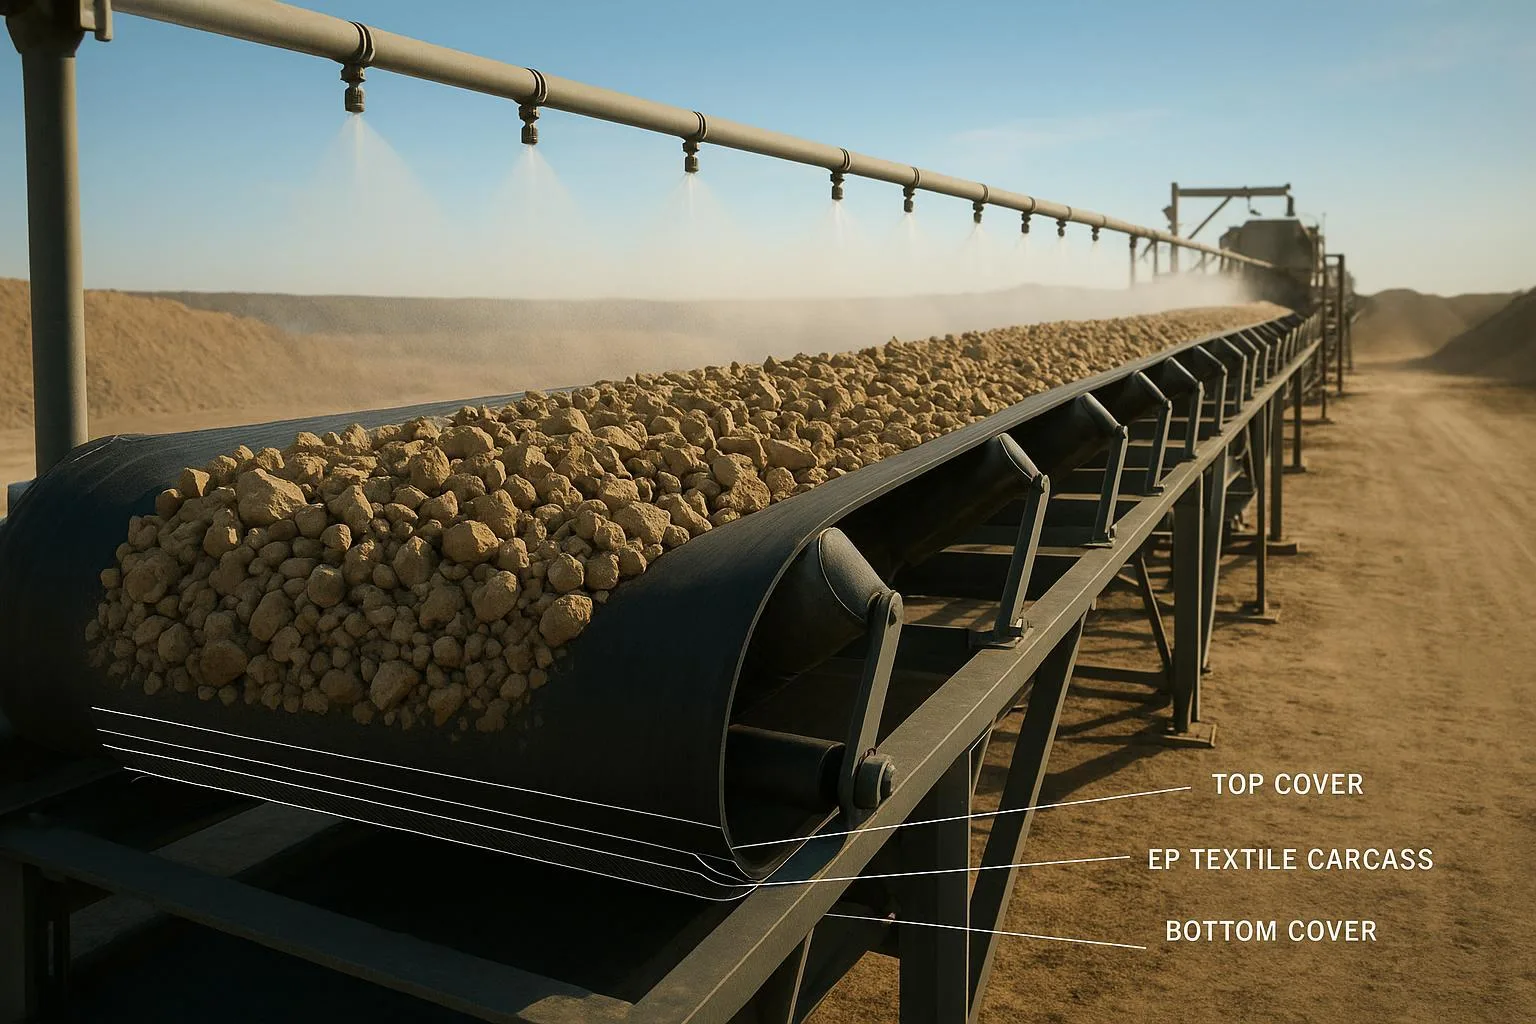
Fabric (EP/NN) belts use layers of synthetic fabric embedded in rubber. They’re generally more forgiving for field repairs and accept all three common options—hot vulcanization, cold vulcanization, and mechanical fasteners—subject to duty and pulley diameter limits.
-
Steel-cord belts contain longitudinal steel cords that carry tension. They demand stricter layup control and typically favor hot vulcanization for structural integrity; long-term mechanical splices on high-tension, high-speed steel-cord systems are often discouraged by OEMs.
Tear geometry also drives your choice:
-
Longitudinal slits align with belt travel and can propagate; large slits may require cutting out a section and installing a full splice.
-
Transverse tears cross the width. Localized rips near the center can sometimes be stabilized with rip-repair devices; beyond a threshold width, section replacement is safer.
-
Punctures and cover gouges are localized and often addressed with patches (hot or cold bonded) if carcass integrity remains sound.
A quick term you’ll hear: splice efficiency. Think of it as the percentage of original belt strength a splice or repair retains under load. Hot-vulcanized end splices typically deliver the highest efficiency when executed to OEM design, while mechanical fasteners trade some efficiency for speed and simplicity. Surface smoothness also affects cleaners and sealing—smoother splices usually leak less and reduce wear.
Conveyor Belt Tear Repair Methods Compared
Hot vulcanization
When you can control heat, pressure, and time, hot vulcanization yields a robust, smooth, and long-lasting repair. Typical practice for many compounds targets cure temperatures in the mid-140s to mid-150s °C with press pressures near 100 psi (some presses run higher); total task duration is commonly measured in hours due to layup and cure. These are indicative values only—always follow the belt OEM’s splice manual. A high-quality vulcanized repair minimizes profile steps, which helps sealing and cleaner performance. For background on process principles, see the overview in the vendor explainer on vulcanization fundamentals from Almex Vulcanization 101.
Field realities: you need a press sized for belt width and thickness, power for heating, flat landings, and an experienced crew. The payoff is maximum strength and best surface profile.
Cold vulcanization (chemical bonding)
Cold-bonded patches and repairs rely on carefully prepared surfaces and adhesive systems. They’re portable and don’t require a heated press, which makes them attractive for field work or remote sites. However, bond strength is highly sensitive to cleanliness, moisture, and ambient temperature/humidity; many product instructions specify working windows (for example, around 10–40 °C ambient and limited relative humidity for certain lagging systems) and minimum cure times before loading. Treat those as hard gates, verified against the adhesive’s technical data sheet.
Where it fits: localized damage on fabric belts, situations with limited infrastructure, or as an interim measure before a planned hot splice.
Mechanical fasteners
Mechanical fasteners—ranging from rip-repair plates to end-to-end splicing systems—restore service quickly with basic tools. They can be compatible with a wide range of belt tensions and thicknesses when you select the correct series and follow the installer’s procedure. The trade-offs: a more pronounced profile that may increase fine material leakage and interact with belt cleaners, and lower splice efficiency relative to a well-executed hot splice. For an evenhanded comparison of splicing vs mechanical approaches, see the industry article on mechanical splicing vs vulcanizing.
Emergency utility is the headline advantage; long-term suitability depends on duty, speed, and sealing requirements.
Method comparison at a glance
| Method | Typical return-to-service | Relative strength/smoothness | Equipment/skill needs | Sensitivities |
|---|---|---|---|---|
| Hot vulcanization | Hours (includes cure) | Highest strength; smoothest profile | Vulcanizing press; trained crew; power | Strict layup; cure temp/pressure/time per OEM |
| Cold vulcanization | 24 h+ typical cure windows per adhesive TDS | Moderate to high if prep is perfect; smooth profile | Abrasion tools, clamping, adhesive system know-how | Ambient temp/RH; surface prep quality |
| Mechanical fasteners | Fast—often within a shift | Lower efficiency; profile step may leak | Hand/bench tools; fastener kit; sizing to belt | Cleaner compatibility; fatigue on high-tension runs |
How to Choose a Repair Method (and When to Replace)
Start with constraints you can’t ignore: belt type, tear geometry, environmental conditions, and your shutdown window.
-
Steel-cord belts under high tension/high speed: favor hot vulcanization for any structural repair. Use mechanical stabilization only as a temporary measure if you must run to a planned outage.
-
Fabric (EP/NN) belts: all three approaches are viable; align to duty severity, allowable downtime, and sealing needs.
-
Longitudinal slits extending beyond a typical splice width: cut out the damaged section and execute a full splice rather than attempting a long patched strip.
-
Transverse rips: for limited-width damage, purpose-made rip-repair devices can stabilize the area; if the rip consumes a significant fraction of belt width, cut-and-splice is the safer route. Industry guidance notes that rip-repair plates aren’t substitutes for end-to-end splices and should be kept out of the trough junction; see practical tips in Flexco’s rip-repair guidance.
-
Environmental limits: cold-bond adhesives have strict windows for temperature and humidity. If you can’t meet them, choose another method.
-
Access and equipment: no press on site? Plan for mechanical or cold-bond to get running, then schedule a hot splice in the next major shutdown.
Replace rather than repair when you see multiple propagating tears, widespread carcass damage (broken cords/plies), chronic edge delamination across long lengths, or when cumulative life-cycle cost and risk exceed the price of a new belt and splice.
Implementation Essentials and QA
Step highlights by method
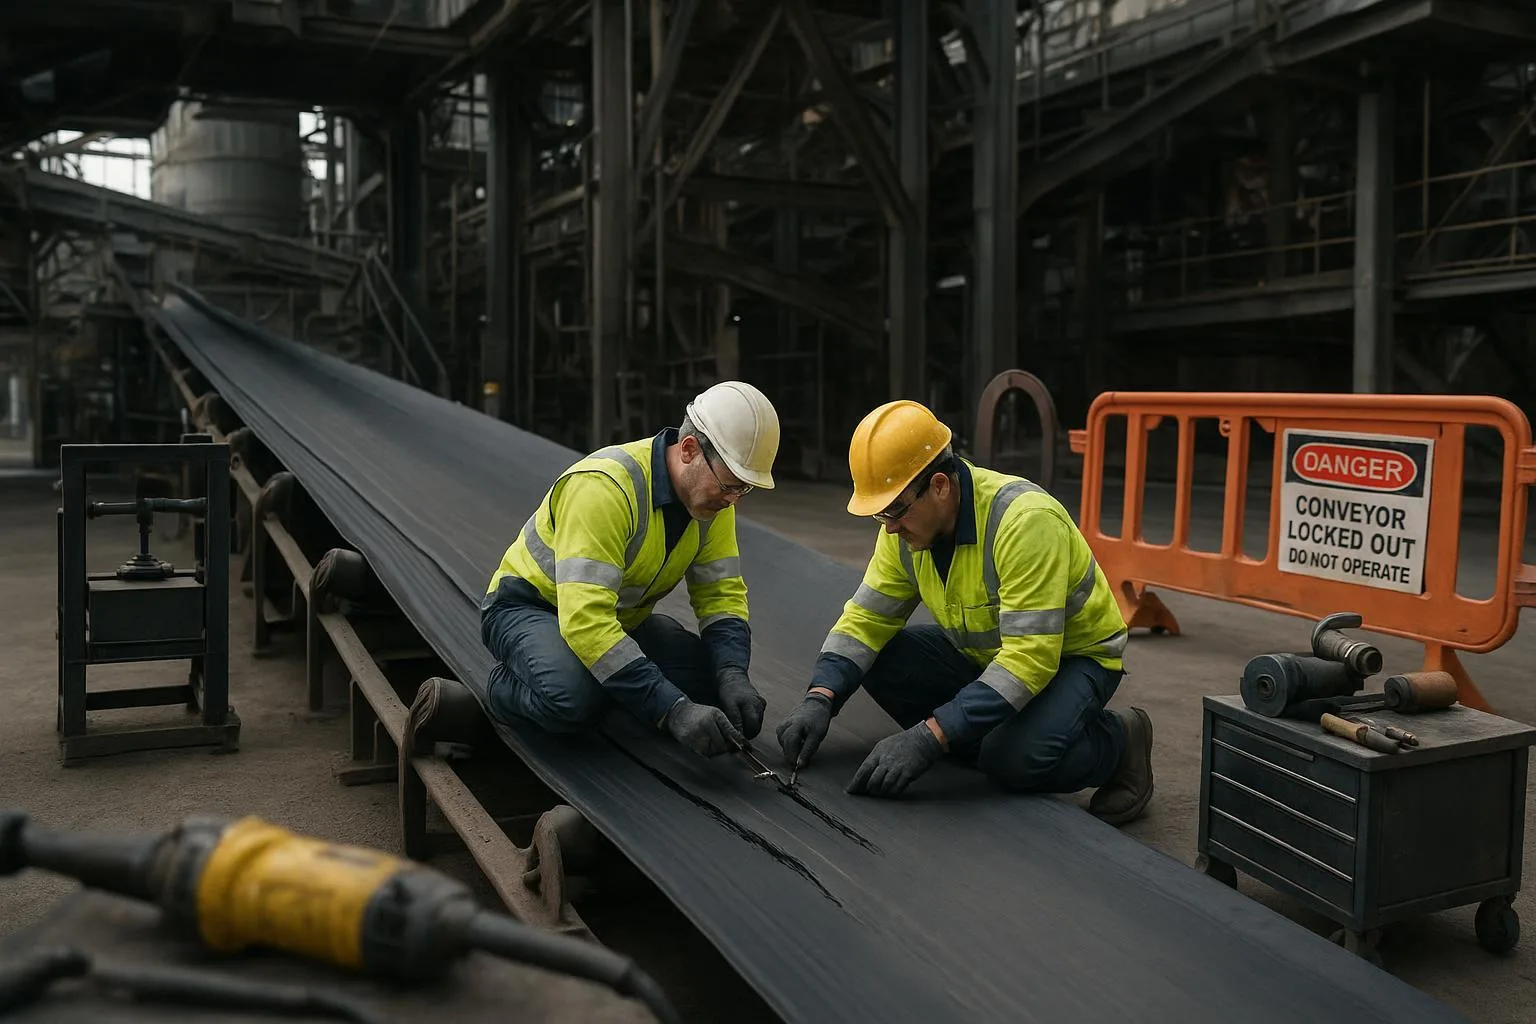
Hot vulcanization (shop or controlled field): lockout/tagout the conveyor; measure and mark the cut/steps; skive or step per OEM geometry; buff and clean to the correct texture; lay up plies and tie gum in the prescribed sequence; close the press and control temperature, pressure, and time to the manufacturer’s cure schedule; cool under pressure before releasing. Post-cure, trim flash, inspect for voids or blisters, and verify dimensions and alignment. For background on the press process and capability ranges, the process overview from Almex Vulcanization 101 is a useful primer.
Cold vulcanization (patches): lock out; isolate and clean the area; abrade to the specified profile; solvent-clean and prime; apply adhesive within open time; position patch/repair materials; clamp or roll with firm pressure; protect from dust and moisture; observe the minimum cure before loading as per the adhesive TDS.
Mechanical fasteners (emergency or planned): lock out; square and prepare the belt ends or damage zone; select the correct fastener series for belt thickness and tension class; position and install with correct spacing, fastener rows, and torque as prescribed by the installer’s manual; verify no rigid devices sit in the trough junction if not allowed; test-run at low speed to confirm tracking and no interference.
Return-to-service checks and documentation
Before you re-start, verify energy isolation and guarding, then run a controlled test. Specifically, confirm zero-energy state and authorization per lockout/tagout; visually inspect the repair surface for adhesion, step alignment, and absence of defects; check fastener torque and complete rows if using mechanical hardware; set belt tension/take-up and track at crawl speed; verify belt-cleaner contact across the width and adjust if the repair profile changes contact pressure; check for leakage at skirts. Document dimensions, materials, cure parameters, and inspection results, and schedule an early reinspection after a few days of operation to confirm stability.
Safety and Compliance You Cannot Skip
Every repair begins and ends with safety. Control hazardous energy with a written lockout/tagout program aligned to federal requirements: isolate all energy sources, release stored energy, verify zero energy, and document controlled re-energization only when testing is permitted, as outlined in OSHA’s 29 CFR 1910.147 lockout/tagout standard. After the job, restore fixed and movable guards and ensure interlocks function. General guarding duties for points of operation and power transmission on conveyors are described in OSHA’s 29 CFR 1910.212 machine guarding rules.
If your facility applies ISO-aligned machinery safety practices, confirm that rebuilt or reinstalled guards meet the scope of ISO 14120 on machine guards and that interlocking devices and safety distances are appropriate (see ISO 14119 and ISO 13857 in your standards library). These standards set expectations for guard strength, fixation, and accessibility; verify them during sign-off.
Troubleshooting After a Repair
| Symptom after restart | Likely cause | Corrective action |
|---|---|---|
| Tracking drift or edge rub | Misalignment in splice/repair geometry; uneven tension; carryback on idlers | Re-square splice; adjust take-up; clean idlers; confirm idler/pulley alignment |
| Material leakage at the joint | Raised profile or steps; insufficient skirt contact; cleaner interference | Re-seat skirts; consider hold-downs; adjust cleaner angle/pressure; evaluate smoother repair method next outage |
| Premature separation (cold bond) | Contamination; low temperature/high humidity; insufficient cure time | Remove and re-prep; ensure environmental window per adhesive TDS; extend cure and protect from dust/moisture |
| Fasteners loosening or pulling | Wrong fastener size/spacing; under-torqued hardware; tension too high | Reinstall to installer’s spec; verify torque/rows; reassess belt tension; plan hot splice if duty exceeds fastener rating |
| Cleaner chatter/noise at splice | Excessive step height; incompatible cleaner | Adjust cleaner to manufacturer guidance; change blade type; consider vulcanized repair in next outage |
Maintenance and Prevention to Avoid Repeat Tears
Tears often begin with uncontrolled impact, entrapped material, or chronic mistracking. Stabilize the loading zone with impact beds or cradles and verify idler spacing and structure alignment; these measures reduce shock and early carcass damage and are consistent with bulk conveyor accessory guidance in CEMA committee materials (see the 2019 accessories committee packet noting impact-support roles in load zones in the CEMA committee agenda set). Keep skirt sealing tight against a stabilized belt line to prevent rock entrapment and edge cuts, and refine chute geometry so material transitions smoothly rather than bouncing onto the belt.
Carryback increases abrasion and can destabilize cleaners around a repair; verify cleaner selection and contact pressure in your QA run and after the first week. Finally, maintain housekeeping and dust control—promptly remove spillage and avoid practices that re-suspend dust. The industrial minerals handbook from NIOSH summarizes effective housekeeping and control strategies in the Dust Control Handbook for Industrial Minerals Mining (2019).
Field Scenarios (What Works When)
-
Remote quarry with no press, 10-hour shutdown, fabric belt, transverse rip at mid-width: crew installs rated mechanical rip-repair devices in two rows, squares the belt, and restores service the same shift; a hot-vulcanized section replacement is scheduled for the next major outage to recover smoothness and long-term strength.
-
Steel-cord overland conveyor, longitudinal slit near impact zone, 24-hour window: team cuts out the segment and completes a hot-vulcanized splice per OEM design; post-cure tests confirm smooth transition, proper tracking, and belt-cleaner contact across the width.
-
Cement plant transfer, localized puncture on EP belt, ambient 25 °C and low humidity: area is abraded and solvent-cleaned; a cold-bonded patch is applied and clamped; the belt is protected and left to cure to the adhesive’s minimum before reloading; follow-up inspection at 72 hours shows stable edges and no leakage.
Actionable Takeaways and Next Steps
-
Match method to constraints: on high-tension steel-cord or where sealing matters, schedule hot vulcanization; in short windows or remote sites, use mechanical or cold-bond methods with clear limits.
-
Treat acceptance as a formal gate: document cure parameters or fastener specs, run at crawl speed, verify tracking and cleaner contact, then re-check after a few days.
-
Prevent the next tear: stabilize impact zones, keep skirts tight, align idlers and pulleys, control tramp metal, and maintain rigorous housekeeping.
If you need engineered replacement sections, idlers, or pulleys to support reliable post-repair operation—or help specifying the right belt construction for your duty—reach out to BisonConvey for neutral, application-driven component guidance.
References in context
-
Lockout/tagout program expectations: OSHA 29 CFR 1910.147 (federal standard; review your site policy)
-
Guarding responsibilities: OSHA 29 CFR 1910.212 (points of operation and power transmission)
-
Guard design scope: ISO 14120 (machine guards—scope/requirements overview)
-
Method trade-offs: Agg-Net’s mechanical splicing vs vulcanizing article
-
Vulcanization principles: Almex Vulcanization 101
-
Rip-repair practices and limits: Flexco’s practical tips
-
Load zone impact control (committee notes): CEMA accessories committee agenda set, 2019
-
Housekeeping/dust control context: NIOSH Dust Control Handbook (2019)