
How to Change a Conveyor Belt
Step-by-step guide to changing a conveyor belt with OSHA/MSHA/ISO-aligned safety, splice selection, tensioning, tracking, and acceptance checks.
Meta title: How to Change a Conveyor Belt Safely: Steps, Splicing, QA
Meta description: Learn how to change a conveyor belt step by step with OSHA/MSHA/ISO-aligned safety, splice selection, tensioning and tracking, and acceptance checks.
How to Change a Conveyor Belt
Replacing a worn or damaged belt is routine maintenance—but it’s also one of the highest‑risk tasks around a conveyor. Done well, you minimize downtime, keep operators safe, and set the system up for months of steady run time. Done poorly, you invite slippage, mistracking, splice failures, and repeat outages. This guide walks through a standards‑anchored conveyor belt replacement procedure, with plain‑language explanations, field tips, and acceptance checks you can actually measure.
Key takeaways
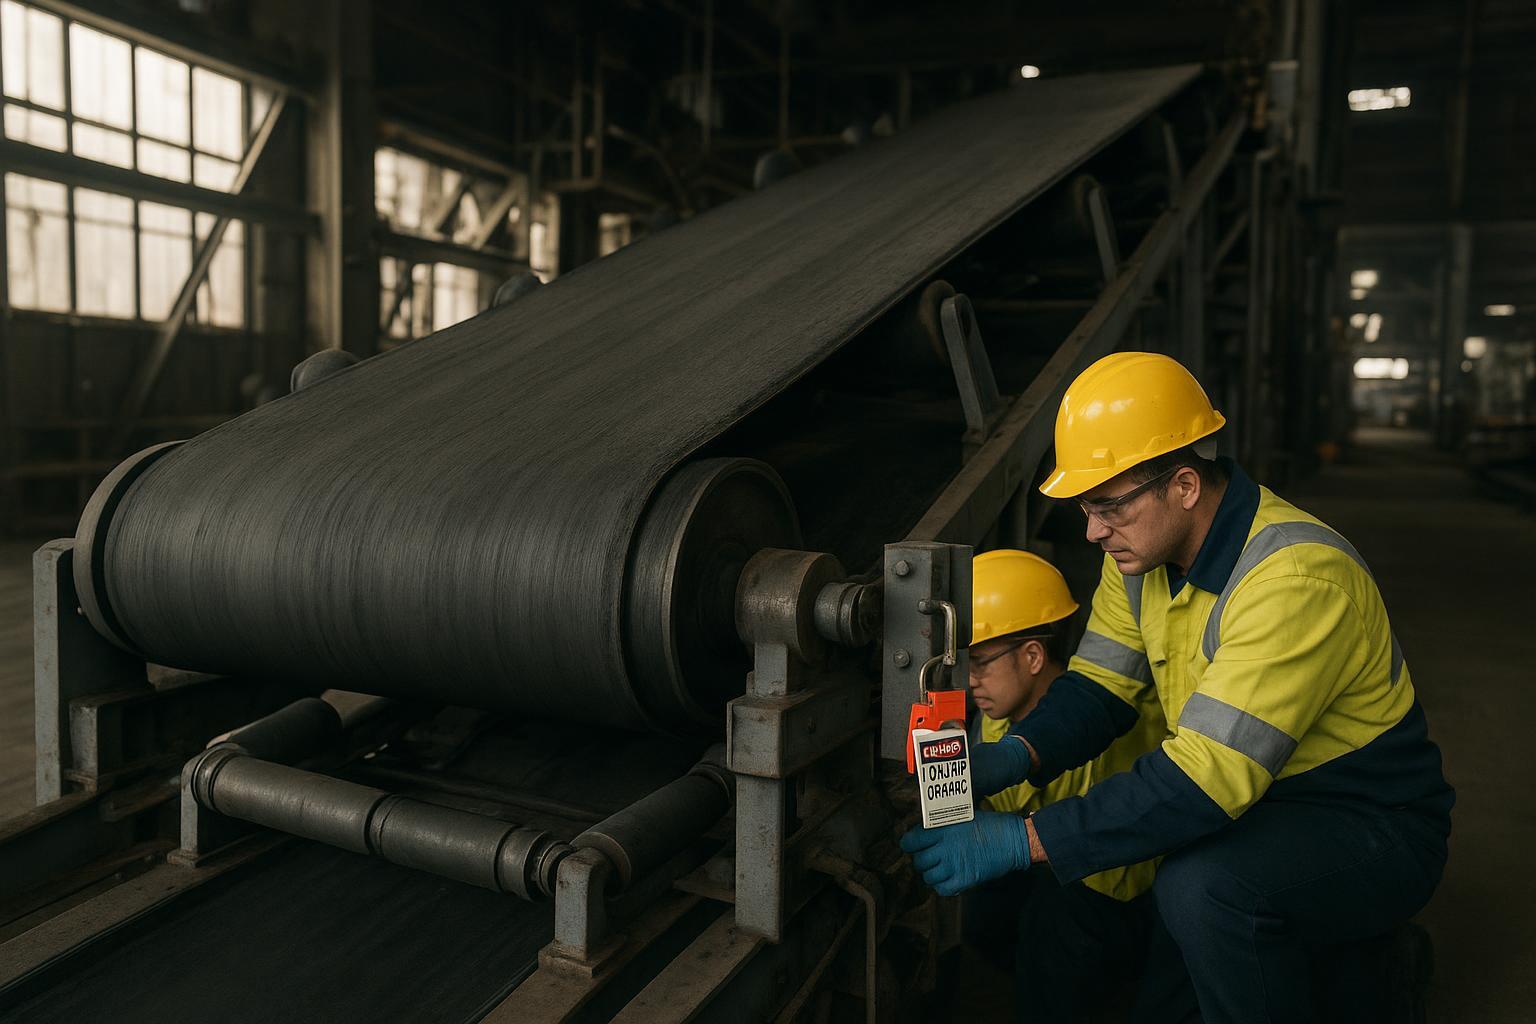
Treat belt changeouts as a permitted task with verified lockout/tagout and “block from motion” before anyone touches the line.
Choose the splice method based on outage window, belt type, and required joint efficiency; document cure/cool if vulcanized.
Thread on the return run, control the belt at all times, and clean critical pulleys/idlers before tensioning.
Set initial tension to prevent slip, then correct tracking in small, logged adjustments; verify performance empty and then under load.
Record take‑up travel, splice condition, and tracking tolerance as part of your acceptance checklist.
Core concepts you’ll use
Conveyor anatomy in brief: the belt is the flexible traction and carrying element; idlers support it; pulleys (drive, tail, snub, take‑up) steer and tension it. A belt change requires controlling energy and motion, removing the old belt, threading the new belt, creating a joint (splice), then tensioning and tracking.
Safety and compliance anchors:
Lockout/Tagout (LOTO). OSHA’s energy control standard requires you to isolate, lock, tag, and—critically—verify zero energy before servicing. See the official regulation and verification guidance in the OSHA 1910.147 standard and the OSHA LOTO eTool on verification.
Global equivalent: ISO frames unexpected start‑up prevention in ISO 14118:2017 (catalogue page). Apply your local regime; the principle is the same: prove isolation.
Mining exemplar: MSHA emphasizes “block from motion”—physically restrain belts and gravity take‑ups—plus guarding and safe access. See MSHA’s Powered Haulage Guidance (2021).
Splice types in plain language:
Mechanical fasteners: metal fasteners clamp both ends. Fast, minimal tooling, lower joint efficiency; a good temporary or moderate‑tension solution.
Hot vulcanized splice: rubber‑to‑rubber bond under heat and pressure. Near base‑belt strength and long life; needs a press, trained techs, and cure/cool time.
Cold bonding (adhesive): niche method for certain belts and conditions; not covered in depth here because heavy‑duty plants typically prefer mechanical or hot vulcanized joints.
Related standards identifiers for belt types: textile belts fall under ISO 14890 families; steel‑cord belts under ISO 15236 families (catalogue pages available via ISO/TC 41/SC 3). Use them to align terminology and specifications.
Tools and PPE checklist (use what your site approves)
PPE: hard hat, safety glasses, cut‑resistant gloves, steel‑toe boots, high‑vis, hearing protection; fall protection where required.
LOTO: keyed padlocks/tags for each authorized worker; lockout hasps; test equipment for verification.
Belt handling: belt clamps, come‑alongs/winches, slings/rollers, mandrels/stands for the new roll.
Splicing: vulcanizing press and kits (for hot splice) or approved mechanical fasteners and installation tools.
Surface prep: skiver, grinder/buffer, cleaning solvents (sparingly, per OEM), scrapers, brushes.
Alignment & measurement: string line/laser, squares/levels, tape, calipers; IR thermometer for splice temperature; tension gauge if available; torque tools.
How to Change a Conveyor Belt: step‑by‑step
This conveyor belt replacement procedure assumes a conventional bulk‑handling conveyor. Adapt steps for your platform and follow OEM instructions.
Plan the job and secure the area
Actions: Conduct a job safety analysis (JSA) and permit‑to‑work. Define exclusion zones and communication signals. Verify you have the correct replacement belt (width, rating, cover grade) and confirm take‑up travel availability.
Verification: Pre‑job briefing complete; belt spec and rotation direction marked on roll; tools staged.
Crew/time: 2–4 technicians; 30–60 minutes planning and staging.
Lockout/tagout and block from motion
Actions: Notify, shut down, isolate all energy sources, apply each person’s lock and tag, release stored energy (gravity, hydraulic, pneumatic, electrical), and verify zero energy following OSHA’s sequence. In mining, physically block the belt and gravity take‑up per MSHA.
Verification: Attempt a start at the local panel (under control) to confirm no movement; document proof‑of‑isolation.
Crew/time: 2–3 technicians; 15–30 minutes.
Create slack and secure the old belt
Actions: Reduce tension via the take‑up; apply belt clamps on both sides of the intended cut; rig winches/come‑alongs to control belt ends.
Verification: Take‑up position recorded; clamps tight; belt cannot roll back.
Crew/time: 2–3 technicians; 15–30 minutes.
Cut and remove the old belt
Actions: Cut squarely (or per OEM if re‑using a section). Pull the old belt out in a controlled path. Clean the drive/tail pulleys and critical idlers—remove build‑up that will sabotage tracking.
Verification: Pulleys free of residue; idlers turn freely; guards managed under permit.
Crew/time: 2–4 technicians; 30–90 minutes depending on length/access.
Stage and thread the new belt
Actions: Mount the new roll on mandrels/stands. Pay out on the return run to avoid twist. Keep the belt centered using a string line or laser. Confirm pulley face and runout are within tolerance.
Verification: No twists; belt edges parallel to structure; minimal edge wander over several meters.
Crew/time: 3–4 technicians; 45–120 minutes depending on conveyor length/route.
Prepare and execute the splice
Decision: Mechanical fasteners (fast turnaround) vs. hot vulcanized (highest strength/life). Select based on outage, belt type (textile vs steel‑cord), tension, and skills.
Actions (hot vulcanized example): Skive and prepare per OEM; assemble splice with correct bias, rubber build‑ups, and cord positioning; clamp in press; follow OEM cure schedule—temperature, pressure, and time.
Evidence: OEM practice such as the Sempertrans instruction set recommends a cure around 145 ± 5 °C with pressure staged to full above ~100 °C and timing based on thickness; allow the joint to cool near ambient before releasing pressure. See Sempertrans Steel Cord Splicing Instructions (2023) for an OEM example and confirm your belt supplier’s latest values.
Verification: Splice log completed (temp/pressure/time); visual check for voids or blisters; IR thermometer shows cooled joint before load.
Crew/time: Mechanical: 1–2 hours; Hot vulcanized: several hours including cure and cool; certified tech required.
Initial tensioning and take‑up set
Actions: Apply tension to prevent drive slippage (follow OEM/CEMA guidance for your belt). Record millimeters of take‑up travel consumed and remaining.
Verification: No slip at start‑up; motor amps stable; take‑up marks documented.
Crew/time: 2 technicians; 20–40 minutes.
Tracking and acceptance checks
Actions: Run empty 15–30 minutes. Make small, incremental idler or trainer adjustments; adjust return side first. Flexco’s PT Smart Trainer guidance recommends positioning trainers just downstream of problem areas and biasing slightly toward the wander side, then re‑checking after a short run.
Evidence: See the Flexco PT Smart Trainer IOM (2024) for authoritative adjustment practice.
Verification: Practical acceptance target many plants use: keep belt wander within roughly ±10 mm over several meters during the empty run (confirm your site’s spec), no splice peel, no rubbing/heat at guards. Then run under load for 4–8 hours and re‑inspect.
Crew/time: 2–3 technicians; 30–60 minutes empty, then periodic checks under load.
Splice selection: which joint should you use?
Below is a qualitative comparison to help pick a joint for your conveyor belt replacement procedure. Always confirm with the belt OEM and your site’s standards.
Factor | Mechanical fasteners | Hot vulcanized splice |
|---|---|---|
Downtime | Fast; minimal cure time | Longest; cure + cool required |
Joint efficiency | Lower; adequate for moderate tensions/temporary service | Near base‑belt strength when executed correctly |
Belt types | Textile belts common; steel‑cord requires special systems | Textile and steel‑cord with OEM‑specific procedures |
Skills/tools | Hand tools/portable fixtures | Vulcanizing press; trained/certified splicer |
Environment | Good for wet/cold or emergency changeouts | Sensitive to prep, pressure, temperature, and cleanliness |
Lifecycle | Shorter; higher wear at cleaners/pulleys | Longest life when properly cured and cooled |
Engineer’s tip: If your outage window is tight, a mechanical joint can get you running—plan a hot vulcanized splice at the next major outage.
Initial tensioning and tracking (how to measure success)
Set tension to stop slip, not to “lock the belt down.” Over‑tension accelerates wear on idlers, bearings, and the splice.
Document baseline: take‑up position (mm), motor amps at empty and light load, and a quick thermal scan at the splice after the first hour of operation.
Tracking method: Make one change at a time and wait a few belt revolutions to see the effect. Return run first; small idler frame nudges are often enough. Trainers should sit just downstream of the point where wander starts, biased toward the wander by only a few millimeters, per the Flexco IOM guidance above.
Practical example: getting tracking right with quality components
On a limestone transfer conveyor, persistent right‑hand wander after a belt change traced back to a worn crown on the drive pulley and two out‑of‑square idler frames. After replacing the drive pulley with a correctly crowned unit and squaring the idlers, the team added a return‑side trainer to stabilize the belt during thermal growth. Components similar to those offered by BisonConvey—engineered pulleys, properly toleranced idlers, and heavy‑duty belts—can provide the geometric consistency you need so small tracking tweaks actually hold.
For buyers comparing vendors, this resource outlines evaluation factors: 10 Best Conveyor Belt Suppliers for Heavy Duty (2026).
Troubleshooting after a belt change
Symptom | Probable cause | How to verify | Corrective action |
|---|---|---|---|
Belt drifts consistently to one side | Idler/pulley misalignment; off‑center loading; material build‑up | Measure frame to string line/laser; inspect loading chute; check for build‑up | Clean build‑up; re‑square idlers in small increments; re‑center loading; install/adjust trainer per Flexco IOM |
Belt oscillates side‑to‑side | Over‑correction; warped/contaminated pulley; variable loading | Review adjustment log; inspect pulley lagging; observe loading pattern | Undo excess adjustments; repair/lag pulley; smooth loading with skirts/baffles |
Drive pulley slip at start‑up | Insufficient tension; oily/dirty lagging | Compare take‑up travel to baseline; inspect lagging; check motor amps | Increase tension within design; clean/replace lagging; consider higher‑grip lagging |
Splice shows peel or blisters | Inadequate cure temp/pressure/time; loaded before cool | Review splice log; IR temp check; visual inspection | Rework splice per OEM; enforce cooling to near ambient before load; improve surface prep |
Premature fastener wear/noise | Mismatch with cleaners; high flex fatigue | Inspect cleaner setting; check pulley diameters vs fastener rating | Adjust cleaner; choose compatible fasteners or convert to vulcanized splice |
Best practices that protect uptime
Design for maintainability: Ensure safe access, lighting, and guarding that can be removed and reinstalled under permit. A clean, reachable take‑up makes tensioning precise and safe.
Keep records: Treat each changeout as a mini‑commissioning. Save the splice log, the take‑up baseline, and tracking notes. The next outage will go faster.
Verify before you leave: After the 4–8 hour loaded observation, re‑check tracking, splice temperature (should be near ambient), and take‑up travel remaining. Reinstall and sign off guards per site policy.
Mind equivalents: OSHA/MSHA examples here map to global regimes; if you operate outside the U.S., align with your national rules that parallel LOTO and guarding.
References you can consult while planning
Energy isolation and verification: see the official OSHA 1910.147 regulation and OSHA’s verification guidance.
Preventing unexpected start‑up: identity anchor at ISO 14118:2017 catalogue.
Mining exemplar of safe practices: MSHA Powered Haulage Guidance (2021).
Hot splicing execution (OEM example): Sempertrans Steel Cord Splicing Instructions (2023).
Practical tracking adjustments: Flexco PT Smart Trainer IOM (2024).
Conclusion and next steps
Changing a conveyor belt is as much a control exercise as a mechanical one: verify isolation, manage the belt path, pick the right splice, then tension and track in measured steps. If you document the splice and acceptance checks—and correct minor drift early—you’ll avoid repeat outages.
If you need engineered belts, idlers, pulleys, or guidance on splicing and commissioning, contact B2B specialists at BisonConvey for support with components and application fit.