Modern bulk‑handling runs on a deceptively simple component: the belt. Understanding the Conveyor Belt Manufacturing Process helps engineers and procurement teams specify correctly, audit suppliers with confidence, and avoid avoidable downtime later. This guide walks through textile (EP/NN) and steel‑cord (ST) manufacturing lines step by step, ties critical controls to real‑world performance, and points you to the standards that govern product quality and testing.
Key takeaways
-
The Conveyor Belt Manufacturing Process differs for textile (EP/NN) and steel‑cord (ST) constructions, but both hinge on controlled compounding, calendering/lay‑up, and uniform vulcanization.
-
Product standards like ISO 14890, DIN 22102, and EN ISO 15236/DIN 22131 define belt requirements and tests; CEMA and DIN 22101 inform conveyor design, not belt manufacturing.
-
Typical failure modes (blistering, delamination, cord corrosion, splice failure) usually trace back to upstream manufacturing or splicing controls.
-
A tight QA loop—dimensions, cover gauges, tensile/elongation, abrasion and flame tests with certificates—protects you at receiving and during factory acceptance.
-
Selection is application‑driven: use EP/NN for many medium tensions and impact‑friendly duties; specify ST for long, high‑tension runs with low elongation.
Core concepts and the standards you’ll rely on
Before we get hands‑on with the Conveyor Belt Manufacturing Process, align on terms and the standards landscape:
-
Carcass vs covers: The carcass provides strength (EP/NN fabric plies or steel cords). Rubber covers (carry and pulley sides) protect against abrasion, heat, oil, or fire and transmit drive friction.
-
Textile belts (EP/NN): EP = polyester warp/nylon (polyamide) weft; NN = nylon/nylon. Multiple plies are skim‑coated and stacked with covers, then vulcanized.
-
Steel‑cord belts (ST): Longitudinal steel cords embedded in core rubber, with covers and often breaker plies.
-
Product standards and testing:
-
ISO 14890 defines specifications for rubber‑ or plastics‑covered textile conveyor belts for general use; see the official overview and sample text in the ISO listing: the public sample of ISO 14890 scope and structure (2013, with EN adoption updates referenced by national bodies).
-
DIN 22102 addresses textile belts, including dimensions/marking and test methods/cover grades (e.g., X, Y, W); see the standard entry for DIN 22102‑1 dimensions and marking.
-
Steel‑cord belts are covered by EN ISO 15236 and DIN 22131 for classification (e.g., ST ratings) and requirements; see a concise overview in this DIN 22131 Part 1 synopsis.
-
Test methods you’ll see on certificates include abrasion per ISO 4649 rotating drum method and laboratory flame resistance per ISO 340 small‑scale ignition test.
-
-
System design references (do not confuse with product standards):
- CEMA’s Belt Conveyors for Bulk Materials is a design reference for tensions/power/selection—not a belt manufacturing spec. See this overview of CEMA change pages for context.
Think of standards as the contract language. They don’t tell a factory exactly how to run a calender, but they do define what a compliant belt must be and how to prove it.
How textile (EP/NN) belts are made — step by step
Textile, or fabric‑reinforced, belts dominate medium‑duty applications. Their manufacturing line is designed to ensure penetration, adhesion, and stable geometry.
- Compounding and mixing
-
Objective: Develop cover and skim compounds for abrasion, heat/oil resistance, adhesion, and flex life. Mix in Banbury/Intermix, cool on mills, batch‑test before release.
-
Why it matters: Skim chemistry and viscosity dictate how well rubber penetrates fabric, directly impacting ply adhesion and flex fatigue life.
- Calendering and impregnation (skim coating)
-
Process: Fabric (EP/NN) passes through 3‑ or 4‑roll calenders and impregnation baths to embed a calibrated skim into the weave.
-
Controls: Calender nip, roll temperature, and line speed govern thickness uniformity and penetration. Poor control here leads to voids and later delamination.
- Ply building (lay‑up) and pre‑consolidation
-
Process: Coated plies are aligned and stacked with specified skim layers and optional breakers; top/bottom cover sheets are applied.
-
Pre‑consolidation: Rolling/vacuum/compression expels trapped air and stabilizes the stack. Miss this, and you risk blisters after cure.
- Vulcanization: press vs rotocure
-
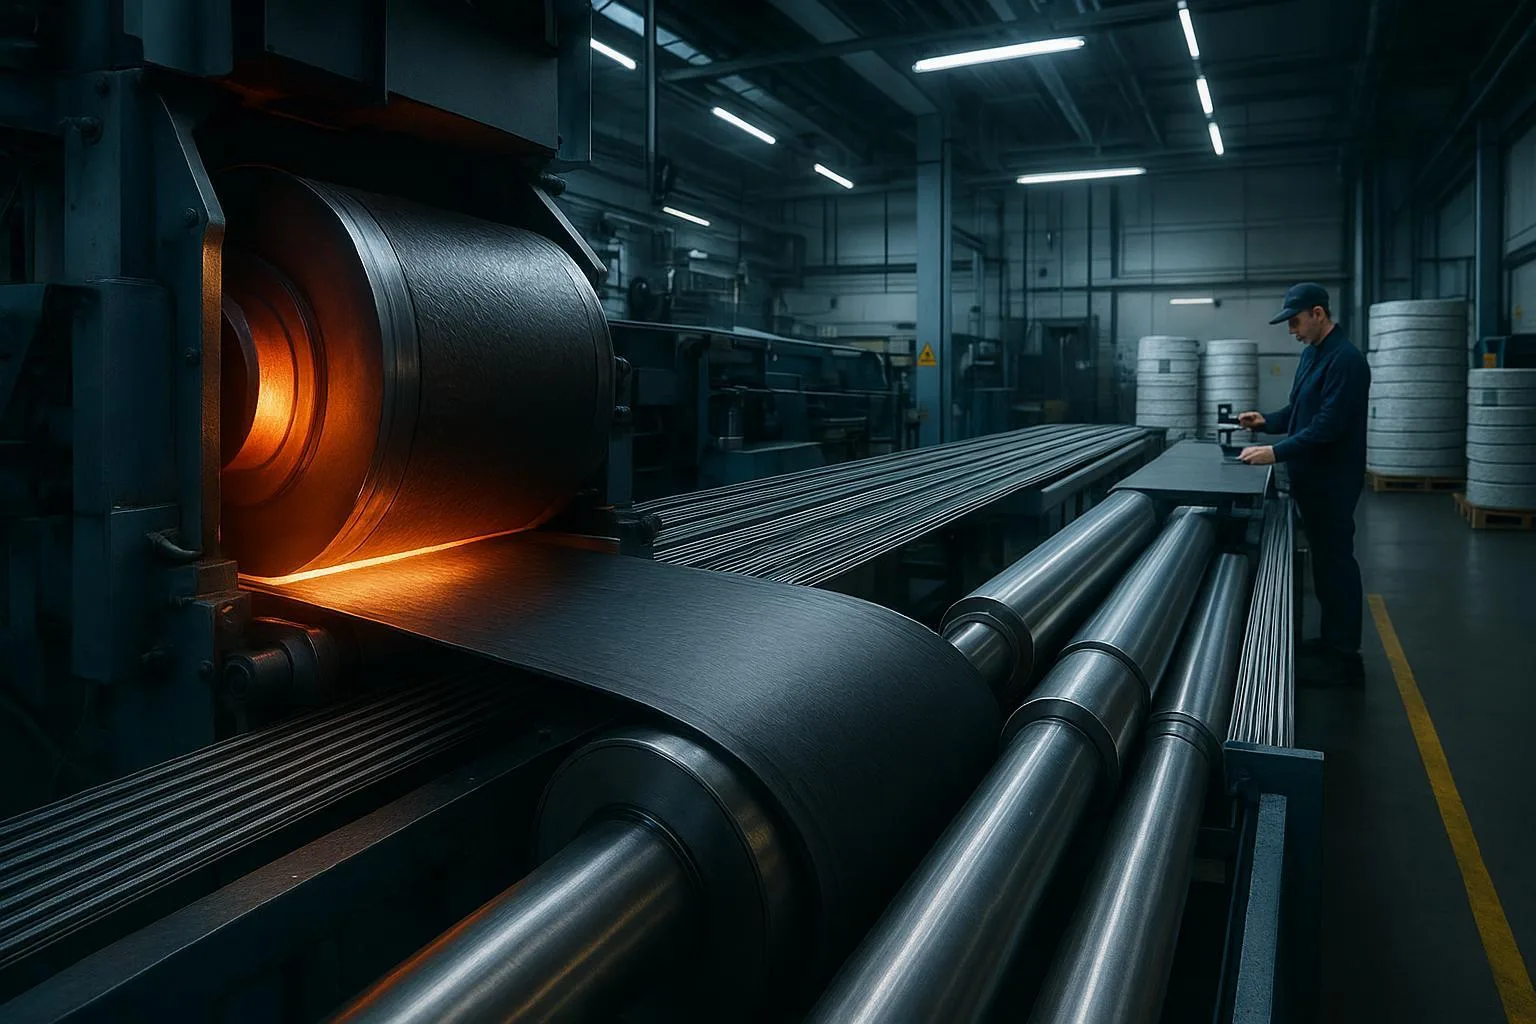
Press (batch): Multi‑daylight presses cure built lengths under pressure and heat; suited to specialty constructions and variable gauges.
-
Rotocure (continuous): A heated drum/steel band system cures a continuous web, excellent for long, uniform runs. Learn the fundamentals in this concise rotocure introduction.
- Cooling, trimming, QA, and branding
- Cooling and finishing stabilize dimensions; edges are trimmed; thickness/width are checked against order/spec; belts are branded and cut to shipping lengths.
How steel‑cord (ST) belts are made — step by step
Steel‑cord belts enable high tensions and very low elongation, making them the backbone of long overland conveyors.
- Cord manufacture and preparation
- Cords are stranded to a defined construction and commonly zinc‑galvanized to resist corrosion. Open constructions promote rubber penetration.
- Core building: cord alignment and spacing
- Longitudinal cords are set under controlled tension and spacing, then embedded in core rubber. Alignment is non‑negotiable—misaligned cords can concentrate stress and shorten life. For a feel of splice alignment discipline, see the practical details in Sempertrans steel‑cord splice instructions.
- Cover application and optional breakers
- Carry and pulley covers are applied at specified gauges; special compounds (heat, oil, flame‑resistant) are selected per duty. Breaker plies can be added for impact/penetration resistance.
- Vulcanization and finishing
- Cure profiles (temperature/pressure/time) are tightly controlled. Some manufacturers also use imaging or magnetic diagnostics to verify cord placement or, later, in‑service condition; disclosures vary by OEM.
Press vs rotocure curing — which line fits which job?
There’s no universal “better”—choose the process that matches product mix, volumes, and uniformity needs.
Applications and use cases (match construction to duty)
-
Mining and quarrying (primary crushed rock, overland): ST belts for long, high‑tension runs; abrasion‑resistant covers. For shorter transfers and impact‑prone chutes, EP/NN with robust skim and breaker plies perform well.
-
Cement and steel plants (clinker, sinter, coke): Heat‑resistant compounds on either EP/NN or ST, depending on tension/length; check flame test requirements for enclosed routes.
-
Ports and logistics (grains, ores, coal): EP/NN on shorter, moderate‑tension lines; ST for ship‑loader/stacker‑reclaimer mains; consider flame‑resistant covers where codes require.
-
Chemicals/fertilizers and recycling: Oil‑ or chemical‑resistant compounds; chevron profiles for inclines with rolling materials.
Tip: If you’re conveying at an incline with slip risk, consider cleated profiles. For example, see chevron options in the internal catalog of Chevron belts for incline service.
Selection and implementation guidance (with a neutral example workflow)
Start with the duty, not the catalog. A simple decision frame:
-
Choose EP/NN when: tensions are moderate, you need impact friendliness and easier splicing, or the conveyor is relatively short/medium length.
-
Choose ST when: tensions are high, take‑up travel is limited, elongation must be minimal, or the conveyor is long and power‑dense.
RFQ checklist (what to ask suppliers):
-
Belt designation and standard compliance (e.g., EP 630/4 6/2 Y per ISO 14890/DIN 22102 context; ST rating per EN ISO 15236/DIN 22131).
-
Cover compound type and target properties (abrasion method reference, heat or oil resistance class; flame test requirement where applicable).
-
Dimensions and tolerances (width, total thickness, top/bottom cover gauges, length tolerance, edge type).
-
Test certificates: abrasion (ISO 4649), tensile/elongation for textile carcass (ISO methods), flame test (ISO 340 where required), and adhesion/splice method notes.
-
Splicing method and field curing profile; required equipment and QA steps. For ST, request splice geometry drawings and cord preparation specifications.
Design interface notes:
-
Minimum pulley diameters and wrap angles should follow your design standard (e.g., DIN 22101 tables for fabric belts and cord‑based rules for ST). Validate against the selected belt’s manufacturer data.
-
Power and tension sizing are design tasks (CEMA/DIN 22101); ensure the chosen belt class meets calculated tensions with margin.
Practical example (neutral, non‑promotional):
- You’ve sized a limestone transfer conveyor and need to validate belt class and geometry. A workflows goes like this: confirm steady‑state tension using a calculator, check speed/capacity for target throughput, evaluate incline limits, then request an EP or ST spec from suppliers with the RFQ checklist above. If you’re working in a toolset like the conveyor belt tension calculator, you can quickly sanity‑check tensions; pair it with a belt speed calculator and incline angle calculator to judge slip risks and throughput. If the duty points to a textile construction, review options such as EP fabric belts and confirm cover grades per your abrasion/heat/oil needs.
QA, testing, and receiving inspection (what good looks like)
Your acceptance process should mirror the product standards and your RFQ. Keep link density low—pull full texts from your standards library, but here are the anchors referenced most on certificates:
-
Abrasion testing per the ISO 4649 rotating drum method (lower mm³ volume loss indicates better abrasion resistance).
-
Textile carcass tensile/elongation methods (ISO family; cited on supplier certs alongside belt designation).
-
Flame test where codes require, per ISO 340 small‑scale ignition.
Receiving checklist (sample):
-
Verify marking/designation against PO (standard, class, cover grades).
-
Measure width, overall thickness, and top/bottom cover gauges at multiple points.
-
Check length tolerance and edge condition; confirm no transit damage or distortion.
-
Review certificates for each coil/roll: abrasion test, tensile/elongation (textile), flame resistance (if specified), and adhesion where provided.
-
For ST belts, verify splice kit contents, geometry drawings, and handling instructions arrived with the belt.
Common problems and a quick troubleshooting matrix
Pro tip: when a defect appears, trace it backward through the manufacturing or splicing step that governs that failure mode. It’s rarely random.
Maintenance and best practices to protect belt life
-
Storage and handling: Keep belts on proper cradles, dry and shaded; avoid tight bends and point loads. Don’t drag cut edges on concrete.
-
Splice care: Record curing profiles, use calibrated thermocouples and pressure gauges, and maintain platens and blankets for uniformity.
-
Inspection cadence: Track wear rates, cover thickness, and hot‑spots at transfers; recalc speed/capacity when process rates change. If you change throughput or product, a quick check with a capacity calculator helps keep utilization in a safe band.
-
When to re‑spec: Re‑examine cover compounds after changes in material (e.g., hotter clinker, oilier feed) or when wear/mm³ data vs duty suggests a mismatch.
Conclusion: what to do next
Here’s the deal: belts fail for reasons you can find and fix. If you understand the Conveyor Belt Manufacturing Process—compounding, calendering, lay‑up, and curing—then QA becomes a checklist, not a guessing game. Use the decision cues above to choose EP/NN vs ST, insist on standards‑based certificates, and keep your splicing discipline tight.
Actionable takeaways
-
Specify to standards, not slogans: call up ISO 14890/DIN 22102 for textile belts and EN ISO 15236/DIN 22131 for steel‑cord.
-
Tie acceptance to evidence: abrasion (ISO 4649), flame (ISO 340 as applicable), tensile/elongation methods, adhesion.
-
Pick the curing line that fits your product mix (press vs rotocure) and audit pressure/temperature uniformity.
-
Use calculators to sanity‑check design interfaces (tension, speed, incline) before you lock the belt class.
-
Keep a living troubleshooting log linking symptoms to upstream causes; it pays back every time you re‑order.
If you need a neutral starting point for specifications or a reality check on belt selection, a manufacturer like BisonConvey supports engineering teams with fabric and steel‑cord belts, idlers, and pulleys, along with practical calculators and standards‑aligned documentation. For complex duties or custom compounds, reach out with your RFQ and operating data.
SEO metadata
-
Meta title: Conveyor Belt Manufacturing Process: Engineer’s Guide
-
Meta description: Step‑by‑step guide to textile and steel‑cord conveyor belt manufacturing, standards, QA tests, selection and troubleshooting for B2B teams.