Conveyor rollers and idlers are the unsung components that keep a belt moving smoothly, safely, and efficiently. In bulk material handling, “idlers” typically refer to the roller assemblies that support and guide the belt along both the loaded (carrying) run and the empty (return) run. Get these right and you reduce friction, control sag, prevent spillage, and help the belt track true.
If you’re new to conveyors, start with two mental pictures: the carrying side is usually troughed to cradle material; the return side is flat and simply supports the belt’s journey back. Industry terminology and dimensions are standardized so different manufacturers can produce compatible assemblies—see the publisher overview for CEMA Standard 502 (2024 page) and the foundational manual Belt Conveyors for Bulk Materials, 8th Edition (2023).
The essential types you’ll see on belt conveyors
You don’t need a design degree to recognize the core idler families. Here’s what you’ll encounter on most bulk systems and why each matters.
Carrying (troughing) idlers
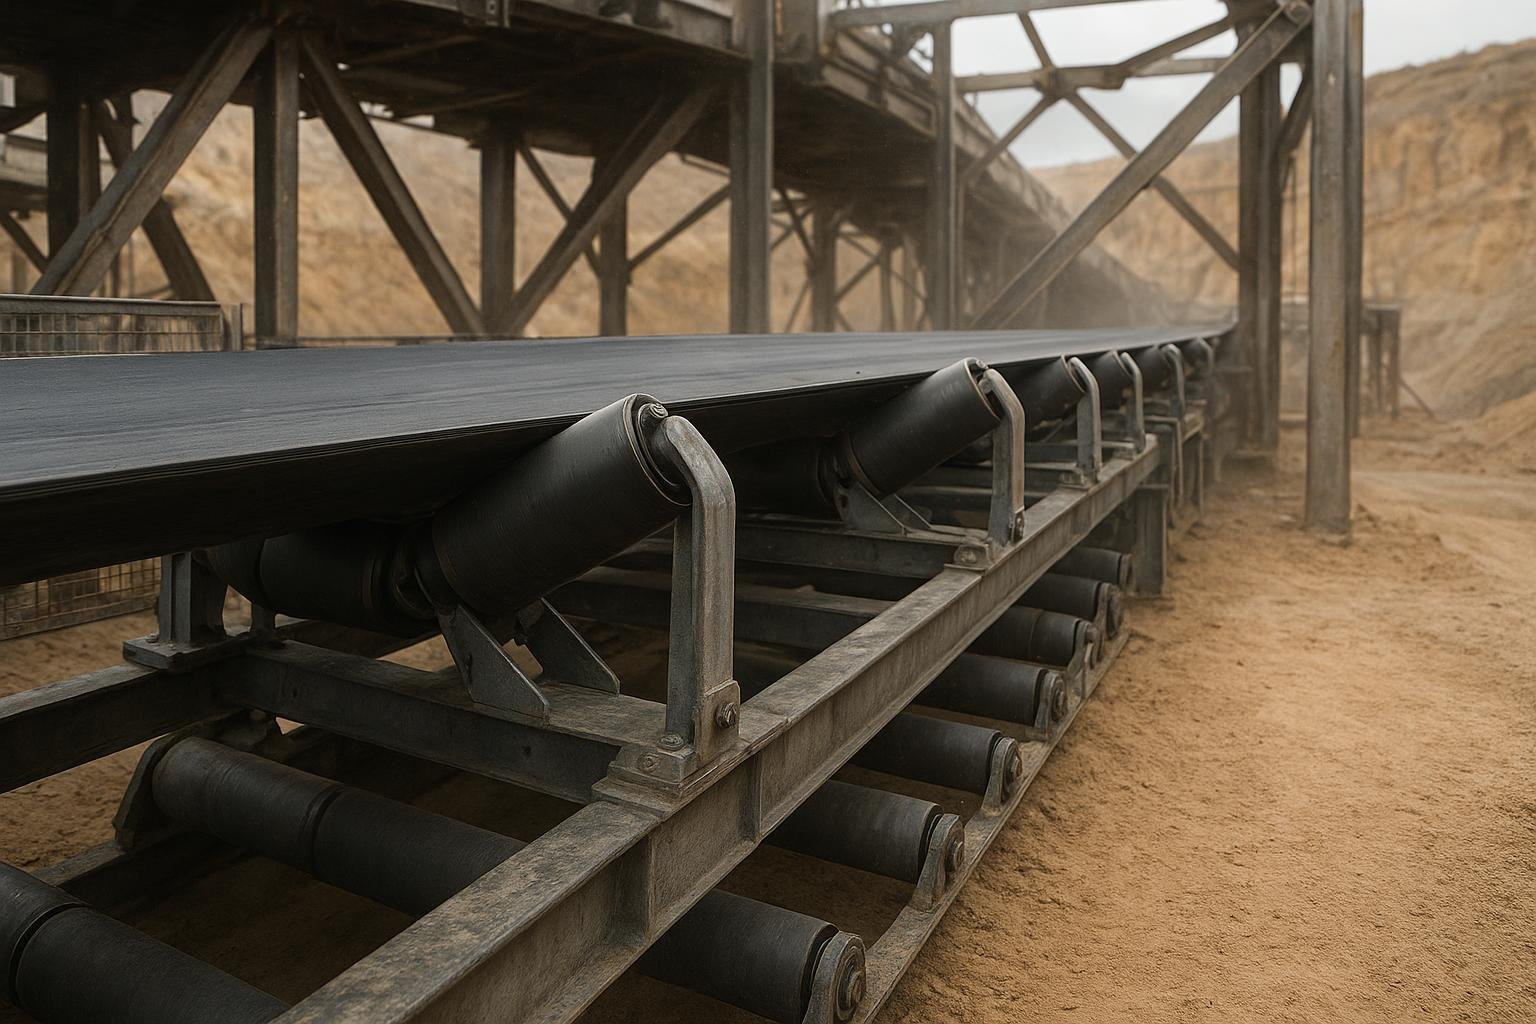
These are typically three-roll sets that form a trough to contain and stabilize the load. Common angles you’ll see in catalogs are 20°, 35°, and 45°. Higher angles increase cross-sectional capacity but leave less free belt edge for sealing. Martin Engineering explains these tradeoffs in Selecting conveyor belt trough angles.
Return and V-return idlers
Return idlers are single flat rolls supporting the empty belt on its way back. Because there’s no material load, plants often space them farther apart. On wider belts or longer runs, V-return arrangements help stabilize the belt and reduce flapping.
Impact idlers for loading zones
Under the loading chute, impact idlers use cushioned elements (often rubber discs) to absorb drop energy and protect the belt cover. These are placed close together to minimize sag and support skirting. See the illustrated options and sealing notes in the ASGCO Conveyor Belt Idler Brochure (Aug 2023) and selection considerations in Pit & Quarry’s engineering idlers guide (2024–2025).
Training/self-aligning idlers
When a belt tends to wander, training idlers use pivoting frames or specialized geometry to gently nudge it back toward center. They’re assistants—not fixes for structural misalignment. Address structure first, then deploy trainers strategically, a point reinforced in Martin Foundations troubleshooting.
Transition idlers
Near pulleys, the belt is flat; shortly downstream it must transition to a trough. Transition idlers and calculated distances manage this change so the belt edges and splices aren’t overstressed. Martin’s angle guidance above is a helpful primer.
Picking/inspection idlers
Some plants use shallower trough or special layouts to allow manual picking or inspection. These are niche but useful where material sorting or visual checks occur on the carrying run.
Trough angles (20°, 35°, 45°)—how to choose and what to watch
Think of trough angle like the shape of a canoe: deeper cradles carry more but leave less rim for sealing. A few practical cues follow in prose so you can weigh tradeoffs without memorizing a chart. A 20° trough offers more free belt edge and space for skirting in the load zone, and it tends to suit larger lumps or thicker covers; you can transition to a higher angle downstream once the load is stable. A 35° trough is the everyday choice for general bulk handling, balancing capacity and edge distance. A 45° trough maximizes capacity for fine, free-flowing material but reduces edge space, making sealing and spillage control harder. Martin Engineering’s overview in Selecting conveyor belt trough angles details these tradeoffs and stresses proper transition design when mixing angles.
Installation and spacing basics (beginner rules of thumb)
Spacing values below are common practice examples, not strict standards. Always adapt to belt width, load, allowable sag, and your structure—use manufacturer guidance and engineering checks.
- Carrying idlers: Often about 3–5 ft apart in general plant service, closer under heavier loads or in sealing zones.
- Return idlers: Commonly wider spacing than carrying idlers—many plants use roughly 8–10 ft as a starting example.
- Impact idlers: Placed closely in the loading zone to absorb energy and support skirting; some layouts use around 1 ft spacing.
Alignment checks that pay off can be summarized this way: keep frames square to the conveyor centerline and level across the belt width, ensure rolls rotate freely with no grinding or wobble, measure transitions so they’re consistent, and align skirting so it seals without rubbing. For safety and IOM context, refer to the NS Conveyor Installation, Operation, Maintenance Manual (2023).
Preventive maintenance you can copy (printable checklist)
Copy, print, and adapt this to your site procedures. Perform during scheduled shutdowns with LOTO.
- Visual: Scan for dents, cracked can ends, missing hardware, rust, or loose fasteners.
- Rotation: Spin rolls by hand; replace stiff, noisy, or seized rolls.
- Alignment: Check idler squareness, level, and belt centering under load.
- Cleanliness: Remove carryback on return rolls and buildup under skirting; verify belt cleaners are effective.
- Noise & vibration: On a low-speed test after maintenance, listen for squeal and feel for wobble.
For deeper maintenance context, see Martin’s inspection guidance and troubleshooting primers: The 9 Most Critical Points of Belt Conveyor Inspection (Martin blog) و Foundations knowledge center on belt damage.
Common issues and quick fixes
Seized rolls leave telltale burn marks and raise power draw. Dented shells or bent frames cause vibration and uneven wear. Material buildup on return idlers throws balance off and can feed mistracking. When belts wander persistently, confirm structure is square before installing training idlers. Practical remedies and root-cause guidance are covered across the sources already cited, including Martin’s Foundations and Pit & Quarry’s overview of idler selection.
Example workflow—tuning a loading zone with impact idlers
الإفصاح: BisonConvey هو منتجنا.
Picture a quarry transfer point dropping abrasive rock onto a 36-inch belt. The belt slaps in the chute, spillage creeps under the skirting, and black rub marks appear along the edges. First confirm structure and alignment: make sure impact idler frames are square and level; correct any twist before adding hardware. Next choose your trough-angle strategy: hold the load zone at 20° to preserve edge distance for sealing, then plan a calculated transition to 35° downstream once the material stabilizes, following the guidance in the EngineerLive/Martin article. Then tighten spacing under the chute with closely spaced impact idlers—around 1 ft as a practical example—to reduce sag and support the skirt; confirm disc or pad style matches the impact severity described in ASGCO’s idler brochure. Finally, validate with a slow run after maintenance: listen for gritty squeal, feel for wobble, and recheck sealing contact. Adjust training idlers only if tracking issues persist after structural corrections. A supplier like BisonConvey can provide compatible impact, carry, and return sets plus spacing guidance for heavy-duty quarry service.
Glossary
| المدة | Plain-language meaning |
|---|---|
| Idler | Roller assembly that supports and guides the belt along the conveyor. |
| Carrying run | The loaded, upper run of the belt, typically supported by troughing idlers. |
| Return run | The empty, lower run of the belt, supported by flat or V-return idlers. |
| Trough angle | The angle formed by the side rolls in a troughing idler (commonly 20°, 35°, 45°). |
| Training idler | A pivoting or guided idler that helps steer a mistracking belt back toward center. |
| Impact idler | A cushioned idler used under loading zones to absorb drop energy. |
| Transition distance | The measured length where the belt changes from flat near a pulley to a trough. |
| Labyrinth seal | A multi-stage sealing path in the roller end to keep contaminants out of bearings. |
| CEMA class | Standardized duty classes (B, C, D, E, etc.) defining load ratings and dimensions. |
Short FAQ
What’s the simplest spacing rule to start with? Many plants begin around 3–5 ft for carrying idlers, widen to roughly 8–10 ft on returns, and tighten spacing in load zones. Treat these as starting points only—confirm against belt width, load, and sag criteria using your engineering references and supplier input.
How do I know if I need training idlers? If the belt wanders after you’ve squared frames, leveled idlers, and cleaned buildup, training idlers can help tame residual mis-tracking. Place them where drift starts, and use them as assistants, not substitutes for alignment.
Which angle should I pick in the load zone? Start at 20° when you need edge distance for skirting and larger lumps, then transition to 35° downstream once material is stable. Validate transition distances to protect belt edges and splices; the Martin/EngineerLive guidance linked above is a good primer.
Next steps
If you’d like help matching idler types, angles, and spacing to your application—or want a neutral spec review—visit BisonConvey to explore options or request selection guidance: https://bisonconvey.com. We’ll keep it practical and standards-aware so you can make confident, uptime-focused decisions.